Straight breads
Same-day 75% whole-wheat bread
A same-day loaf with 75% whole wheat and 80% hydration; also suited to focaccia.
Method
01 · Autolyse
20–30 minUse: A
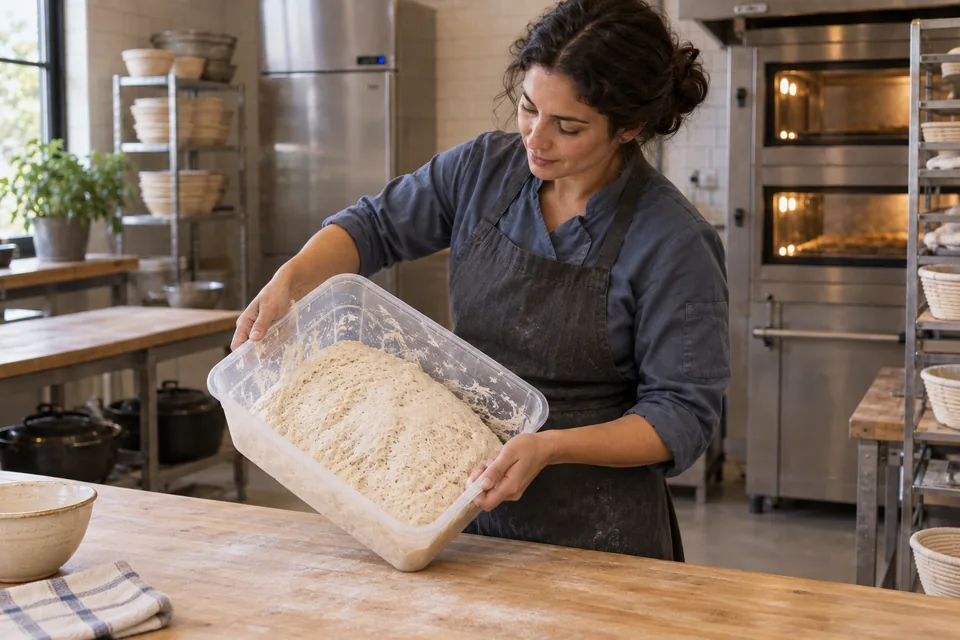
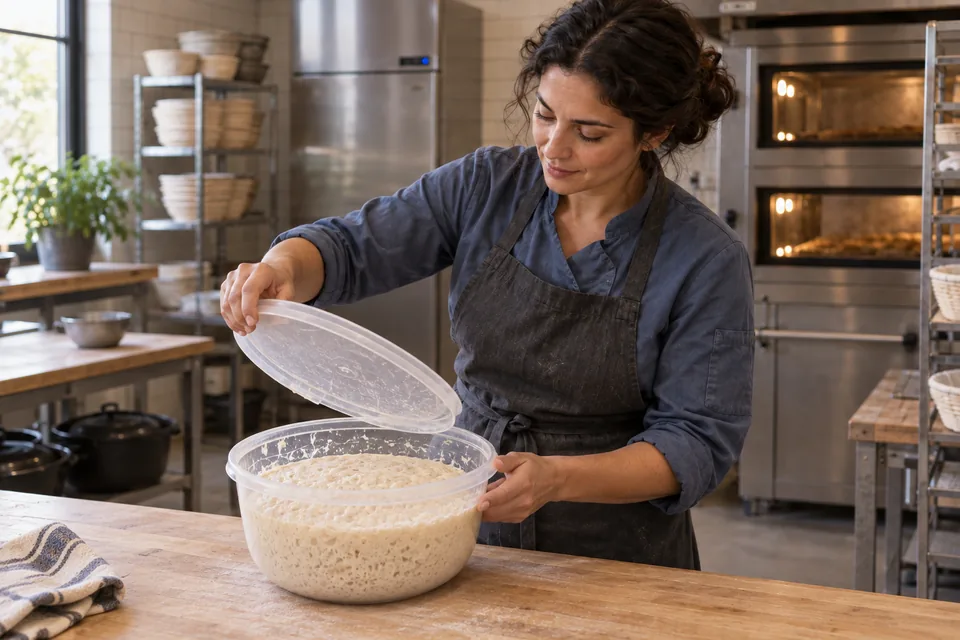
Mix the flours, add all A water, and stir by hand until no dry flour remains. Cover.Ready when: Rough, fully hydrated dough; no dry pockets.
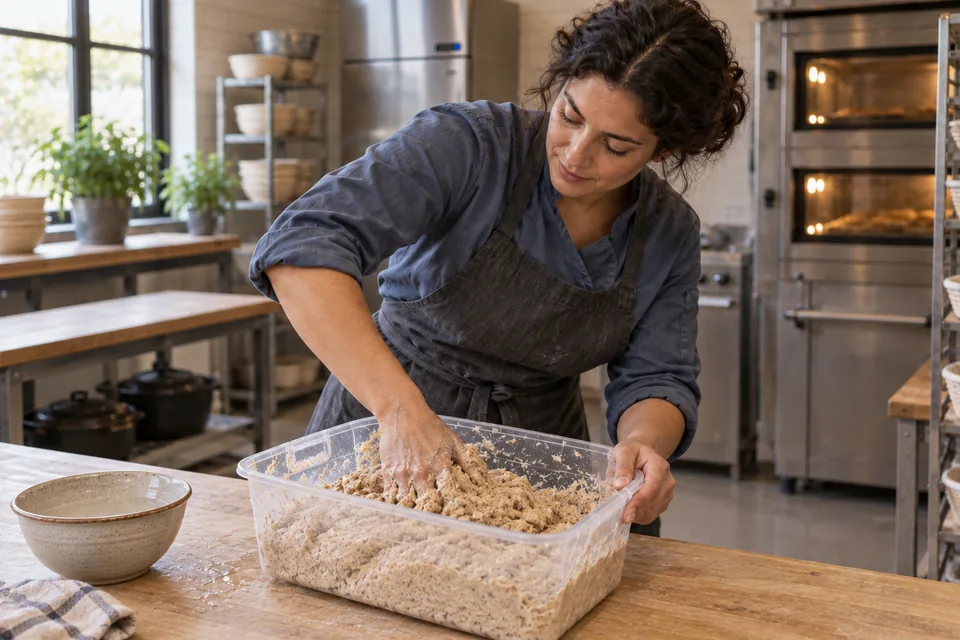
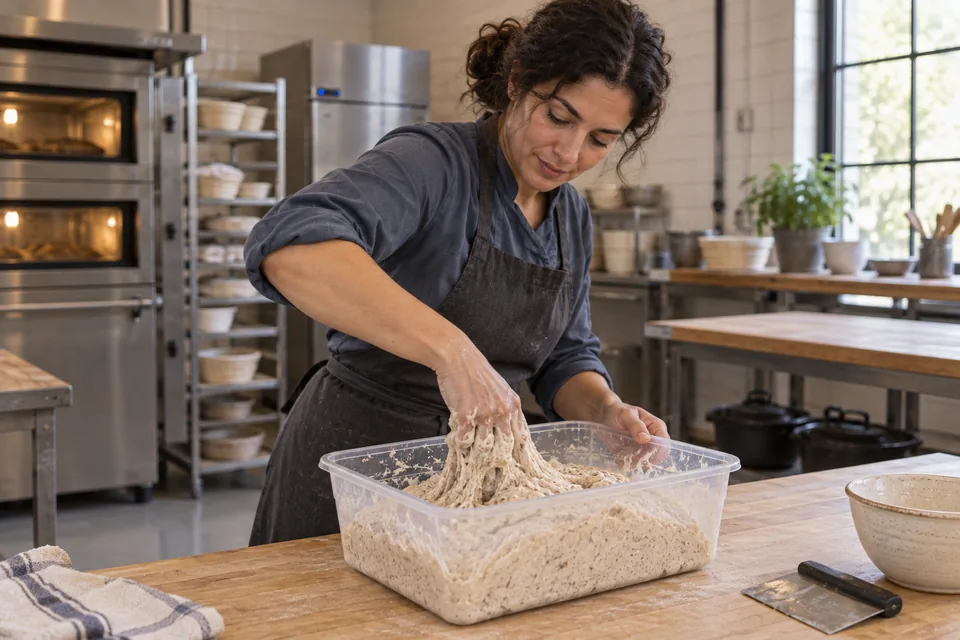
01 Rest the flour and waterMoisten all the whole-wheat and white flour; cover the rough, bran-rich dough for its rest. 02 · Mix
About 5 minUse: A + B
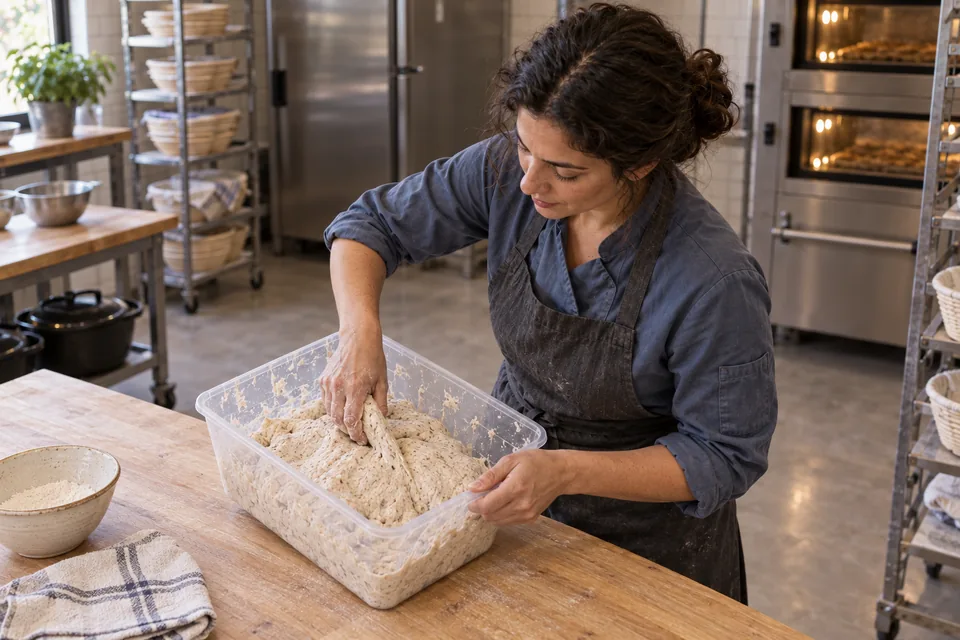
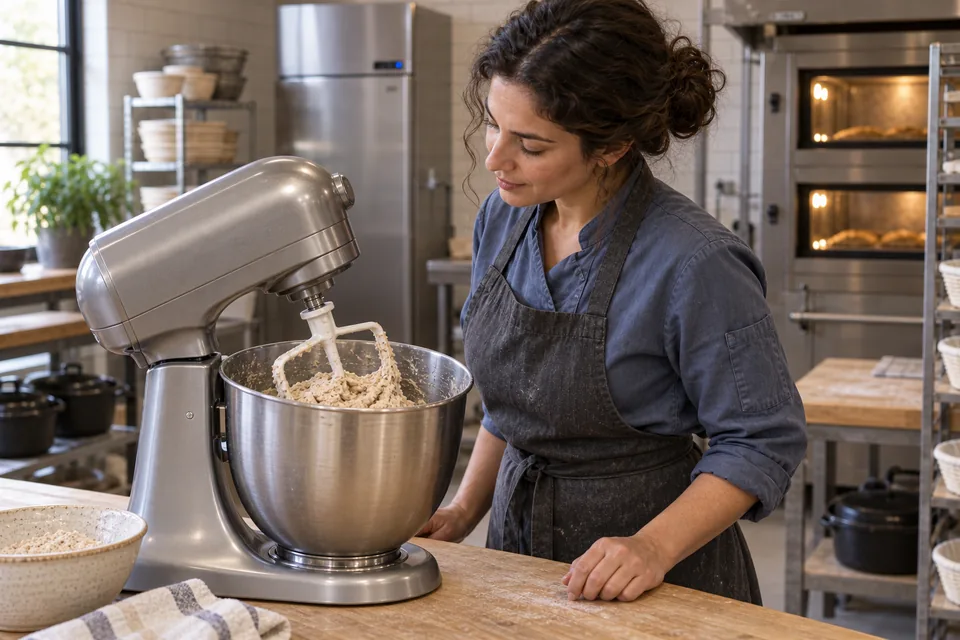
Sprinkle B over the dough. Wet your hand. Fold the outer quarters over the salt and yeast, then pinch through the dough 5–6 times with thumb and forefinger. Alternate these cuts with folds until evenly mixed; rest briefly, then fold for another 30 seconds.Ready when: Even salt and yeast distribution; dough gains tension.
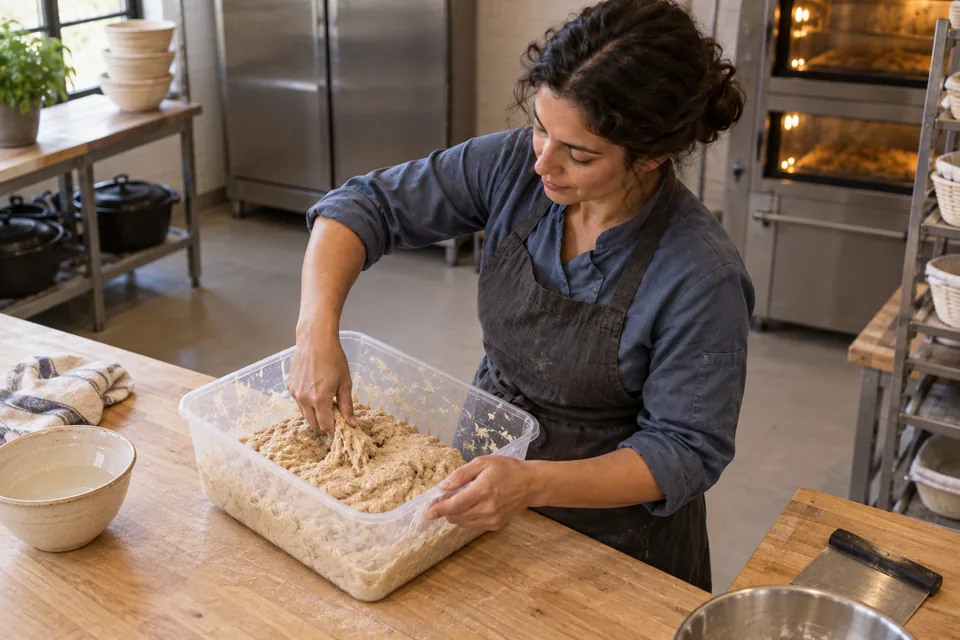
02 MixPinch and fold gently to distribute the salt and yeast through the whole-wheat dough. 03 · Fold and bulk
about 5 h from the end of mixingUse: Mixed dough
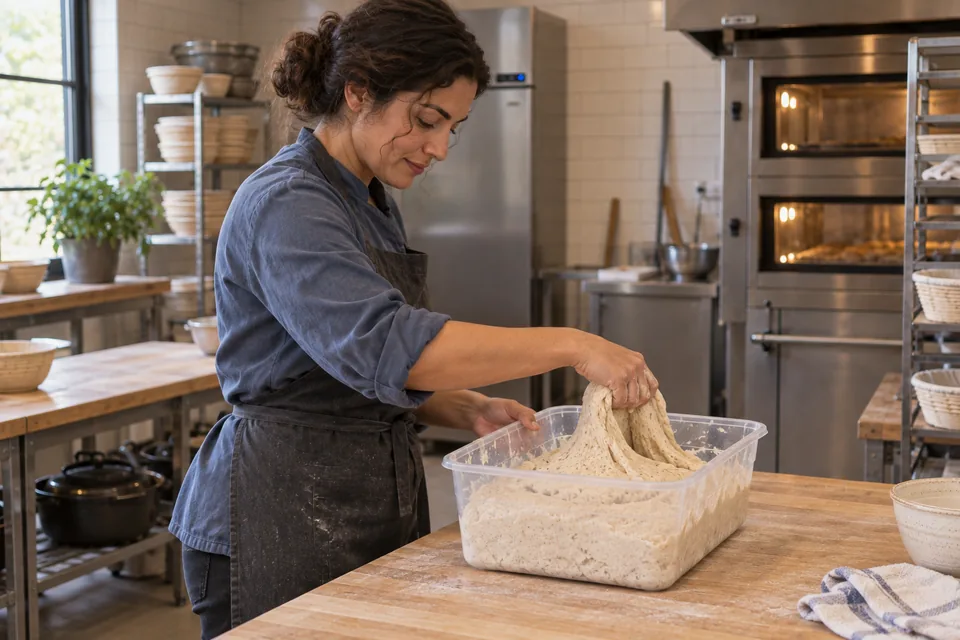
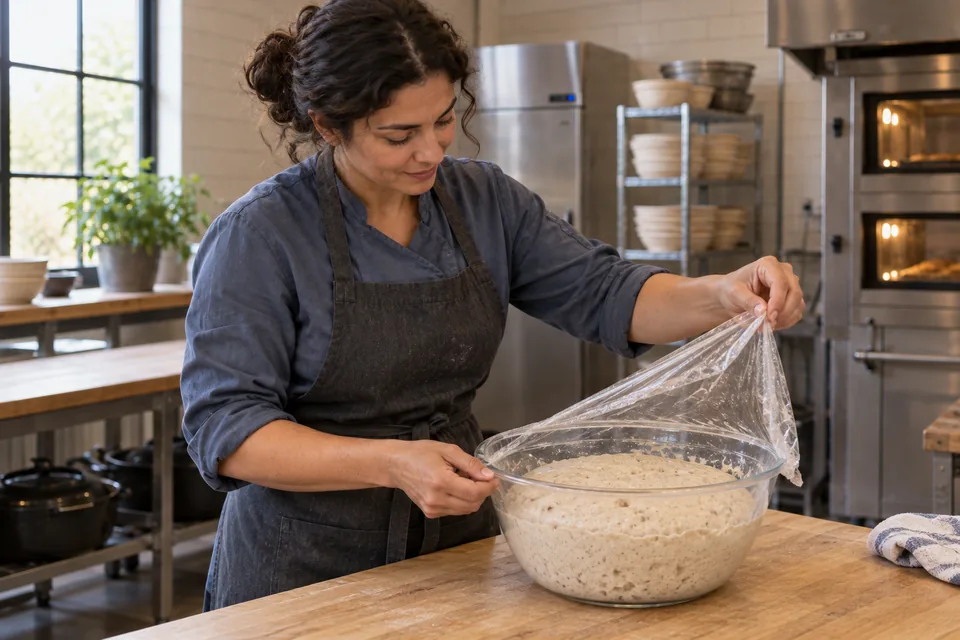
Apply 3 gentle sets during the first 1½ hours; begin about 10 minutes after mixing. For each set, wet your hand; stretch one edge upward only to resistance and fold across. Repeat around 4–5 edges until the dough firms, then turn the whole mass seam down. Let it relax before the next set. Cover between folds; leave undisturbed for the final hour.Ready when: About 3 times its initial volume.
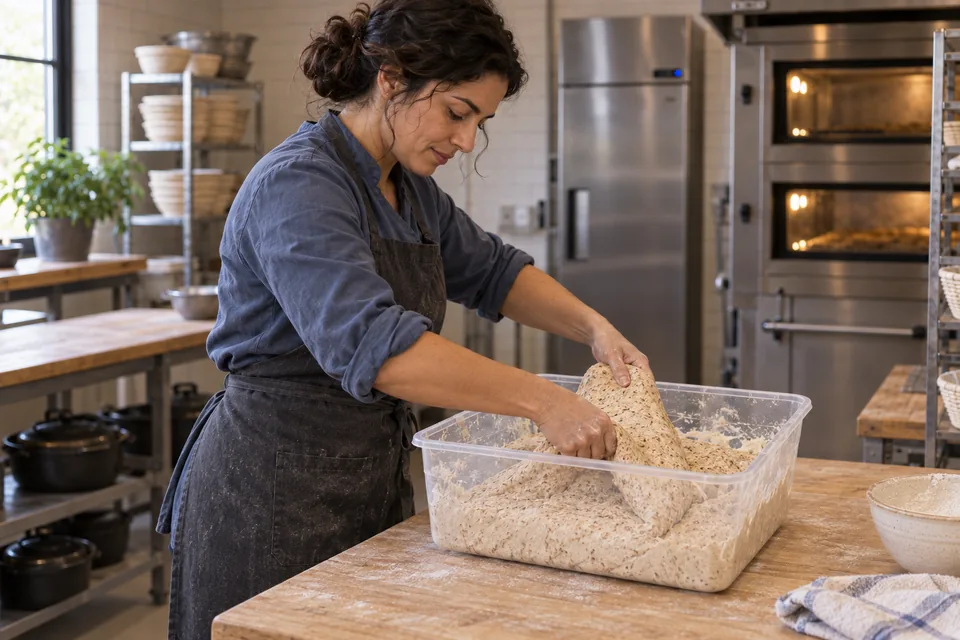
03 Fold and bulkUse gentle folds and stop stretching when this bran-rich dough begins to resist. 04 · Divide and shape
A few minutesUse: Risen dough; dusting flour
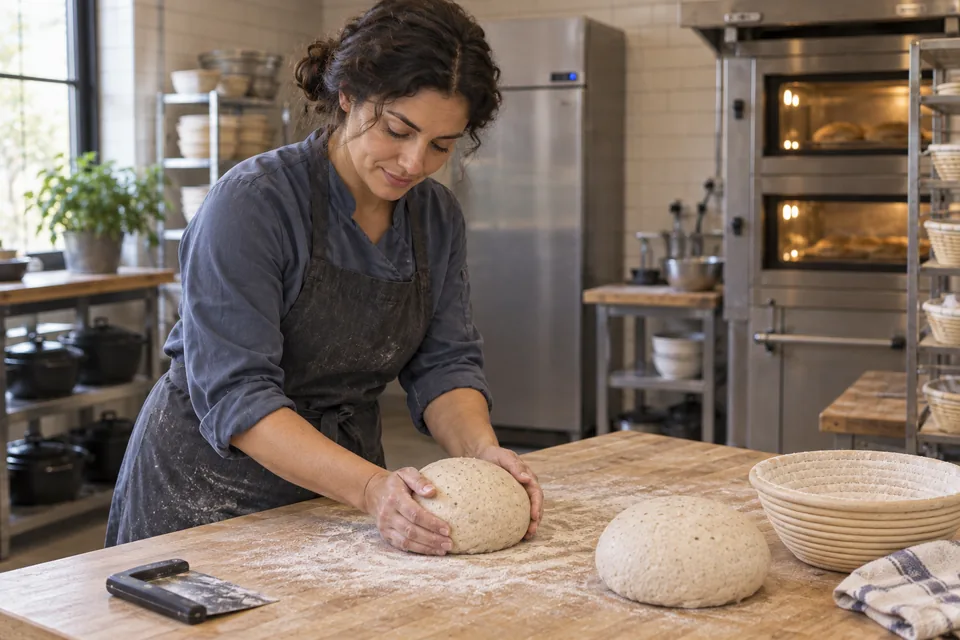
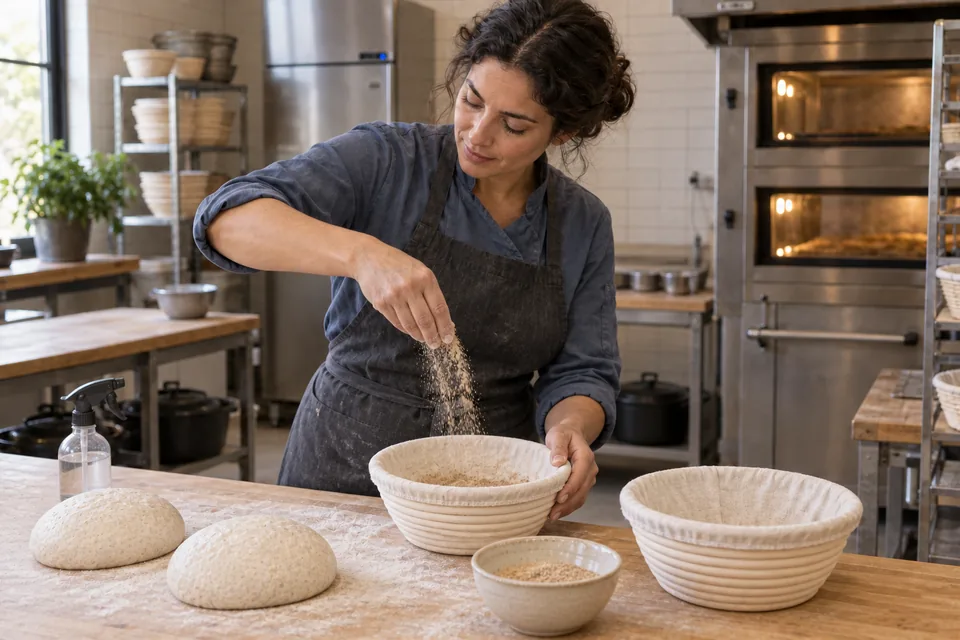
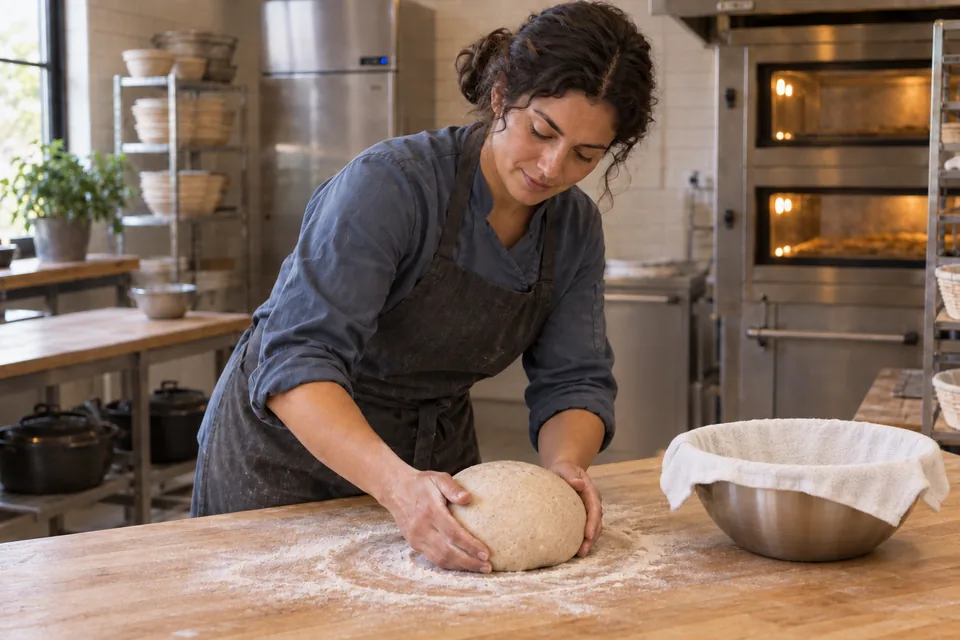
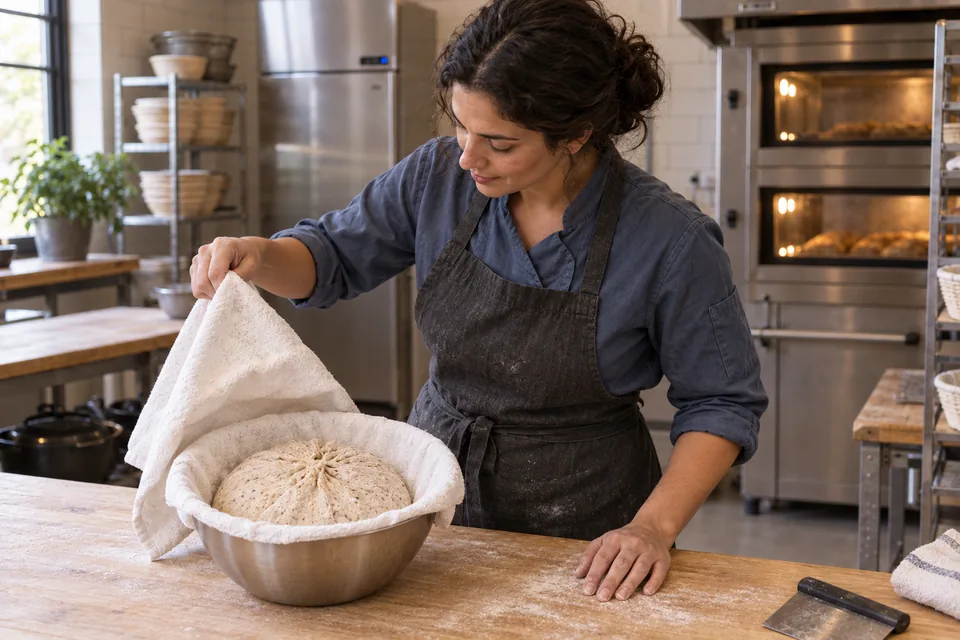
Ease dough onto a lightly floured counter without tearing. Divide equally. Fold each piece’s edges inward to enclose it, turn seam down onto a clean unfloured patch, and cup and drag toward you while turning to make a medium-tight ball. Set seam DOWN in a well-floured basket; flour the top and cover.Ready when: Two smooth rounds that hold moderate tension without torn skins.
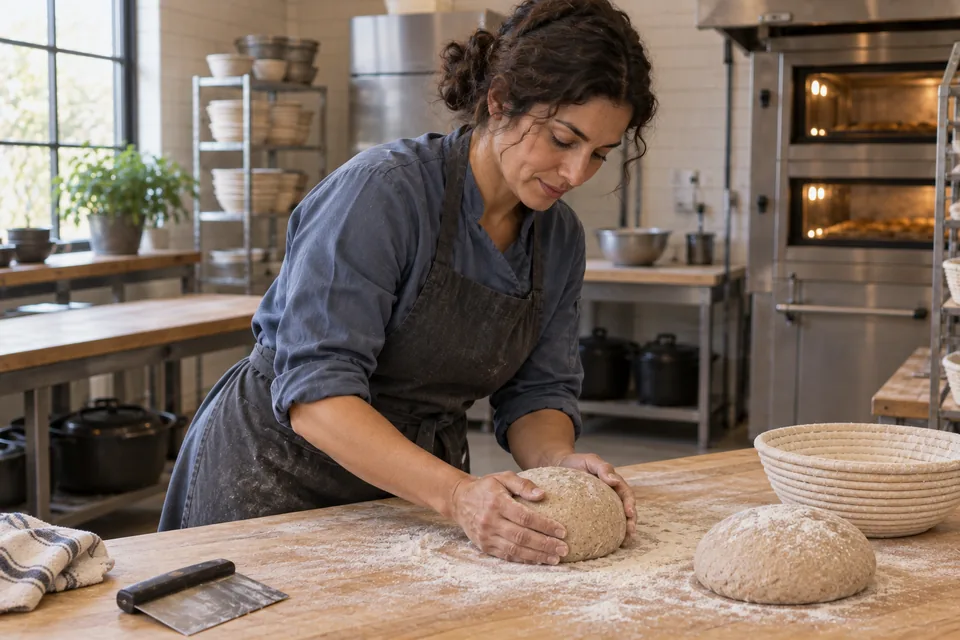
04 Divide and shapeDivide into two rounds and build moderate tension without tearing the bran-rich dough. 05 · Proof
about 1¼ h at about 21°C; nearer 1 h if warmerUse: Shaped loaves
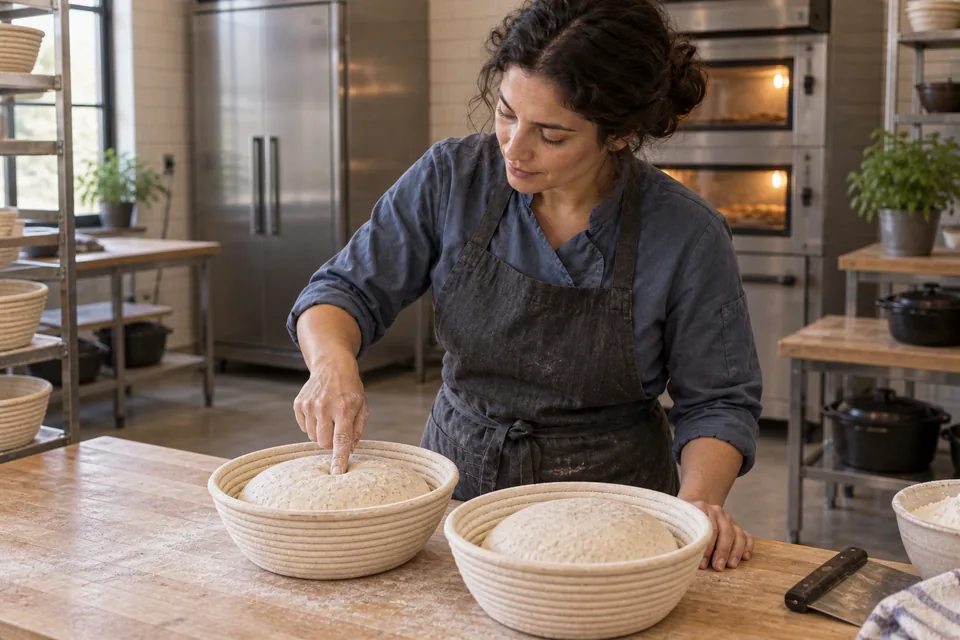
Proof covered. Gently press the loaf with a floured fingertip to make a small dent: a slow, incomplete return indicates readiness; immediate spring-back means wait; no return with a slack loaf suggests overproofing.Ready when: Expanded loaves, still able to hold their shape; check from 1 h.
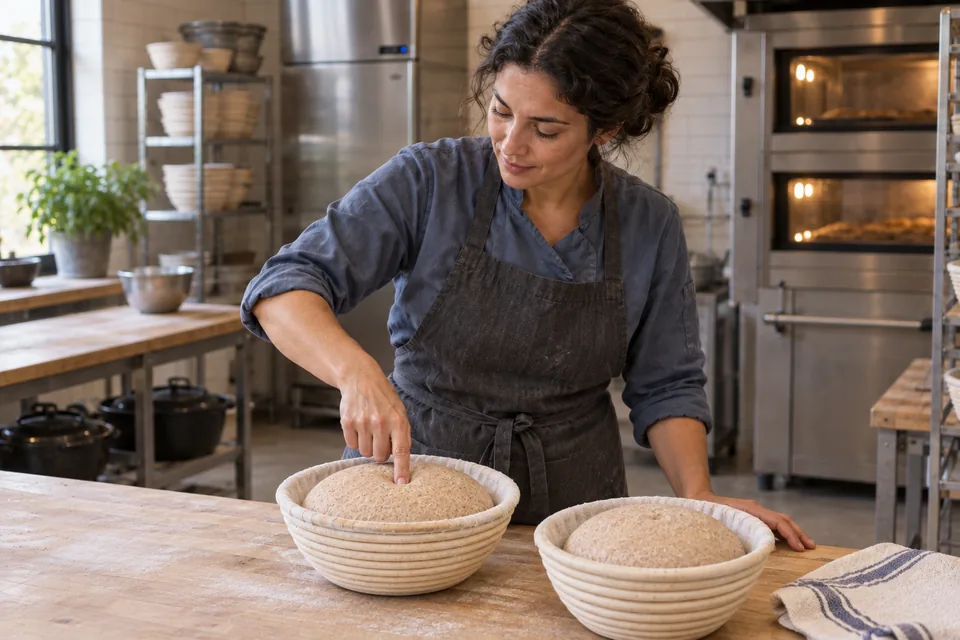
05 ProofLet the whole-wheat rounds become puffy and check for slow, partial recovery from a light press. 06 · Preheat during proof
At least 45 min at 245°CUse: Oven and lidded pots
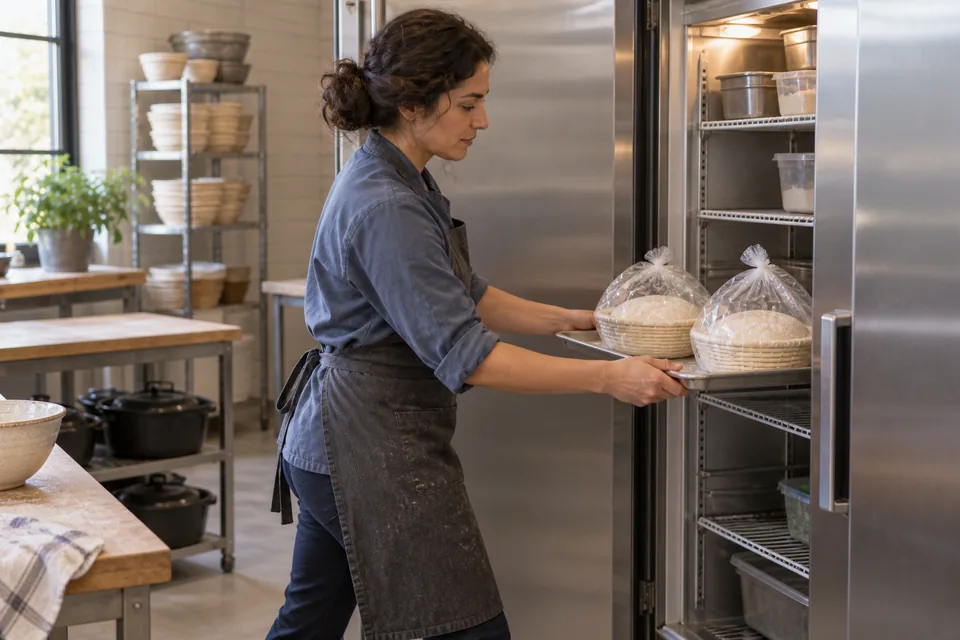
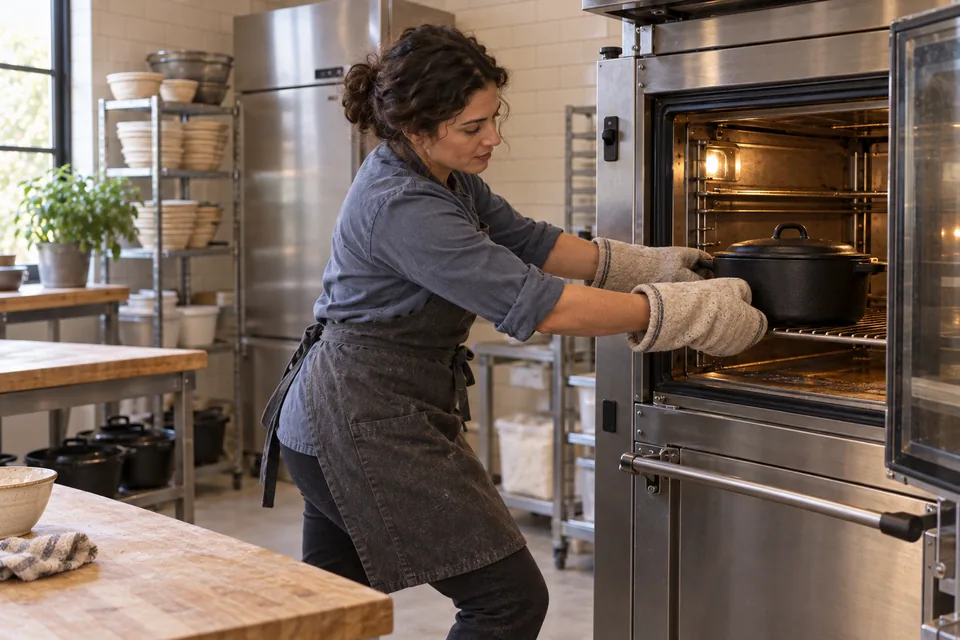
Put lidded Dutch ovens on the middle rack and heat fully. If using one pot, refrigerate the second room-proofing loaf about 20 minutes before baking the first; reheat the empty pot 5 minutes between loaves.Ready when: Pots and oven fully heat-soaked.
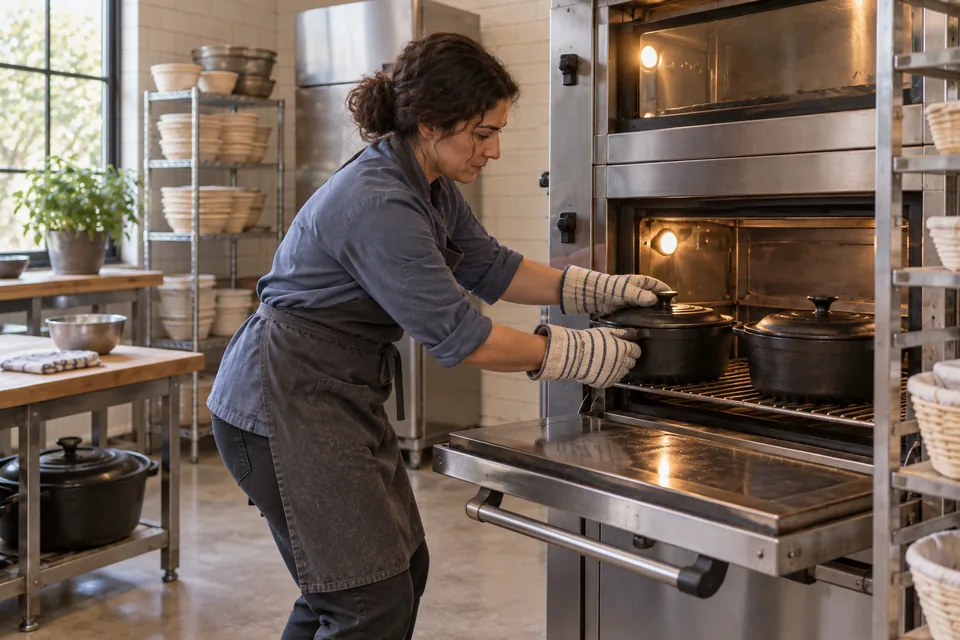
06 Preheat during proofHeat the covered pots thoroughly while the loaves finish proofing. 07 · Load and bake
245°C throughoutUse: Proofed loaf
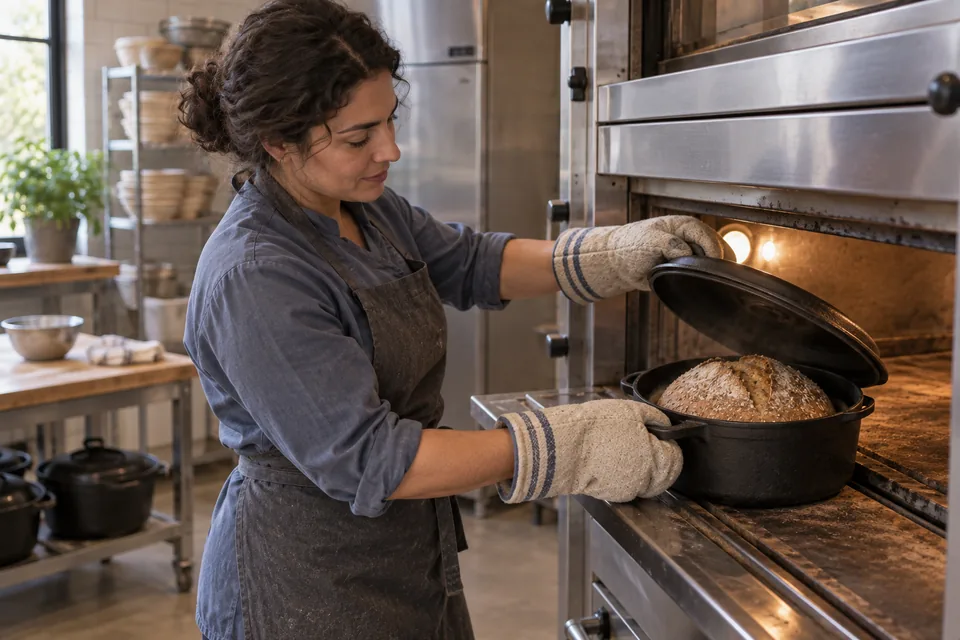
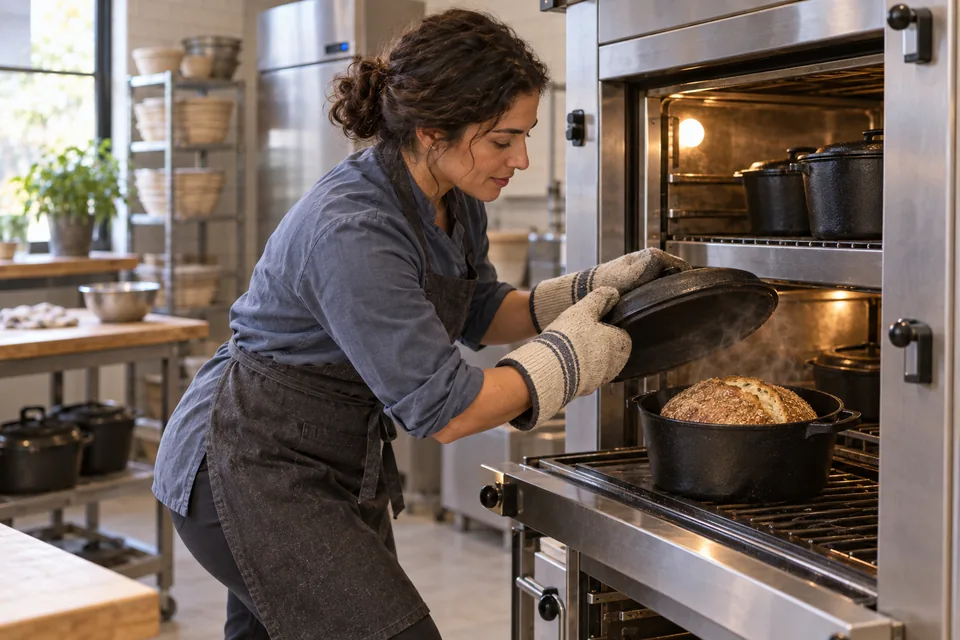
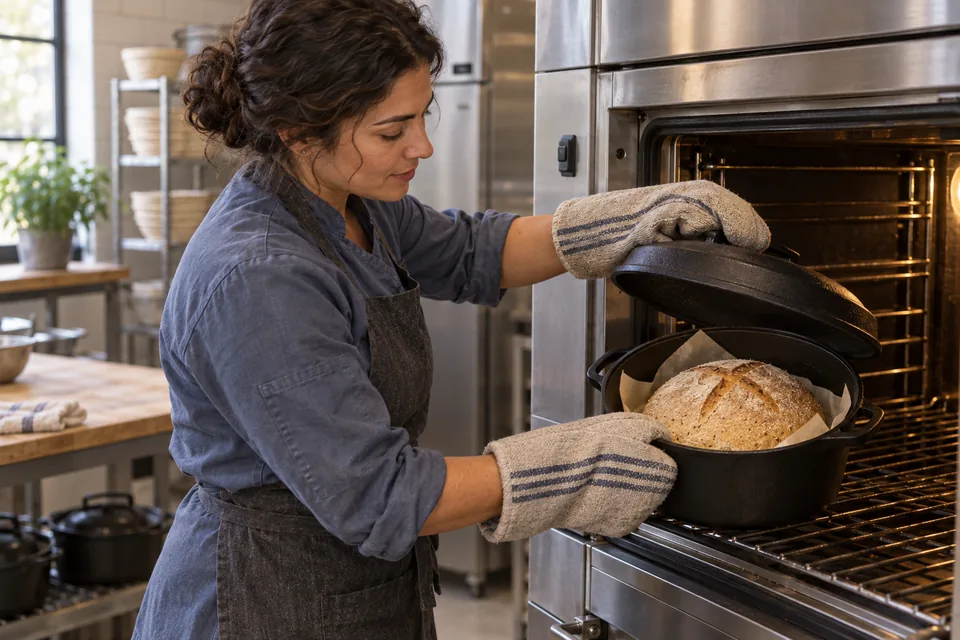
Invert the loaf onto a lightly floured counter, then carefully lower it seam UP into the hot pot, avoiding the hot sides. No scoring is needed: the seam opens naturally. Use mitts for the pot and lid. Bake covered 30 minutes; remove the lid and bake about 20 min more. Begin checking 15 minutes after uncovering.Ready when: Crust at least medium-dark brown all around, with a naturally split top.
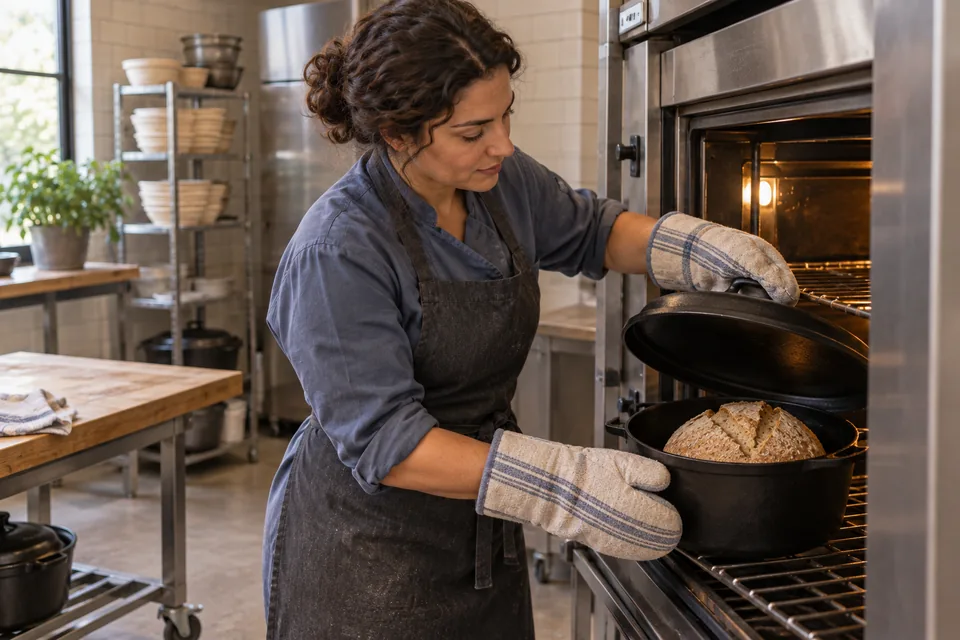
07 Load and bakeLet the seam open naturally; uncover with mitts after the covered stage and finish browning. 08 · Cool
At least 20 minUse: Baked loaves
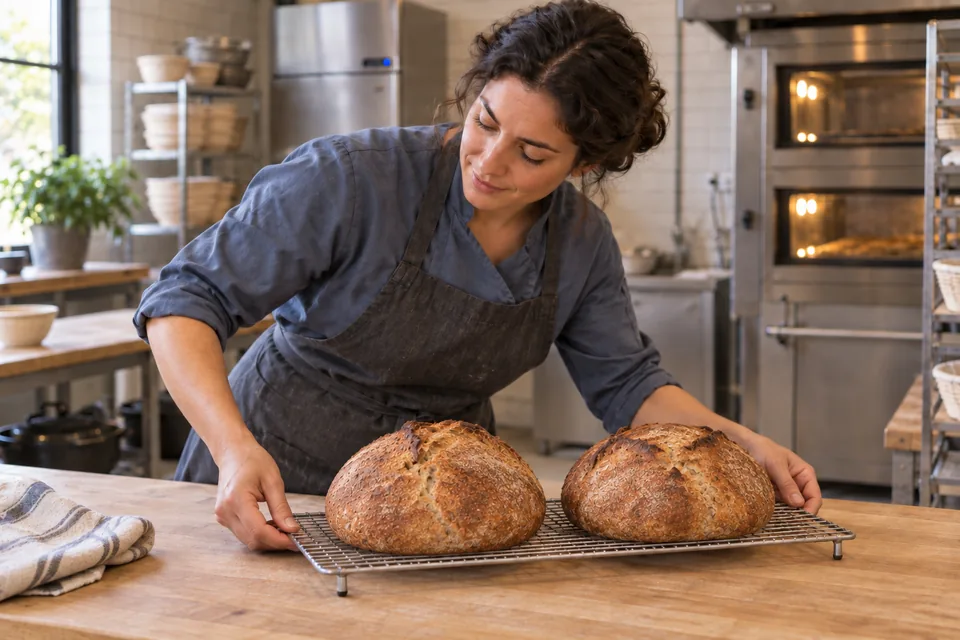
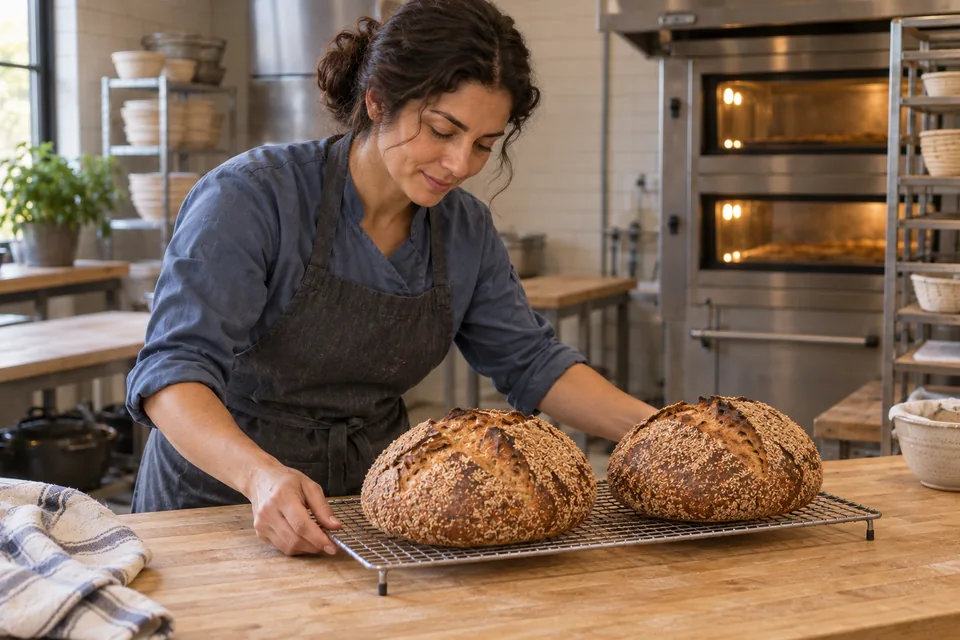
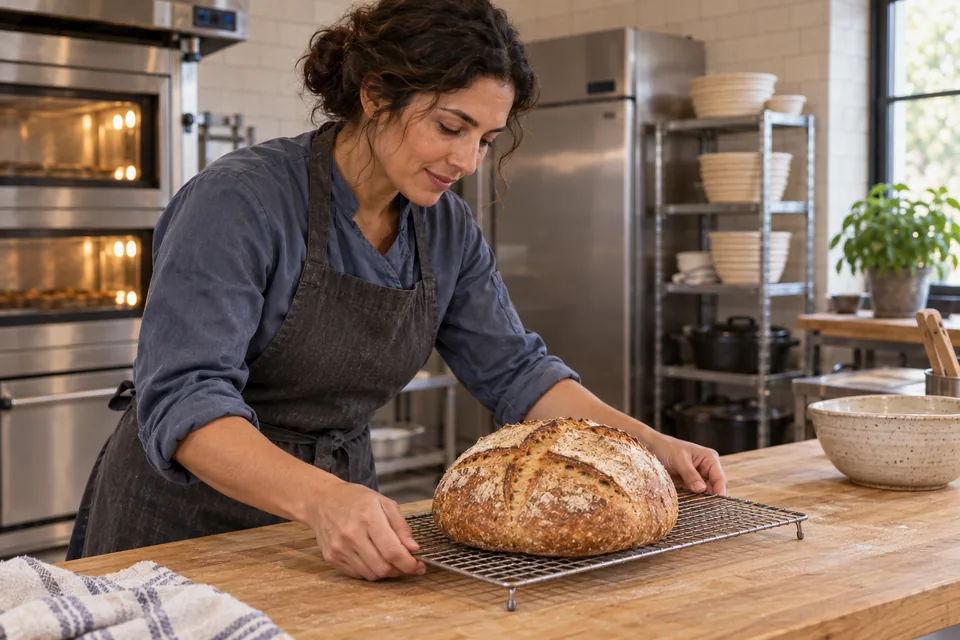
Turn the bread out and cool on a rack with air beneath it. Wait at least 20 minutes before slicing; allow longer if the center is still very hot.Ready when: Crumb has begun to set; steam can escape on all sides.
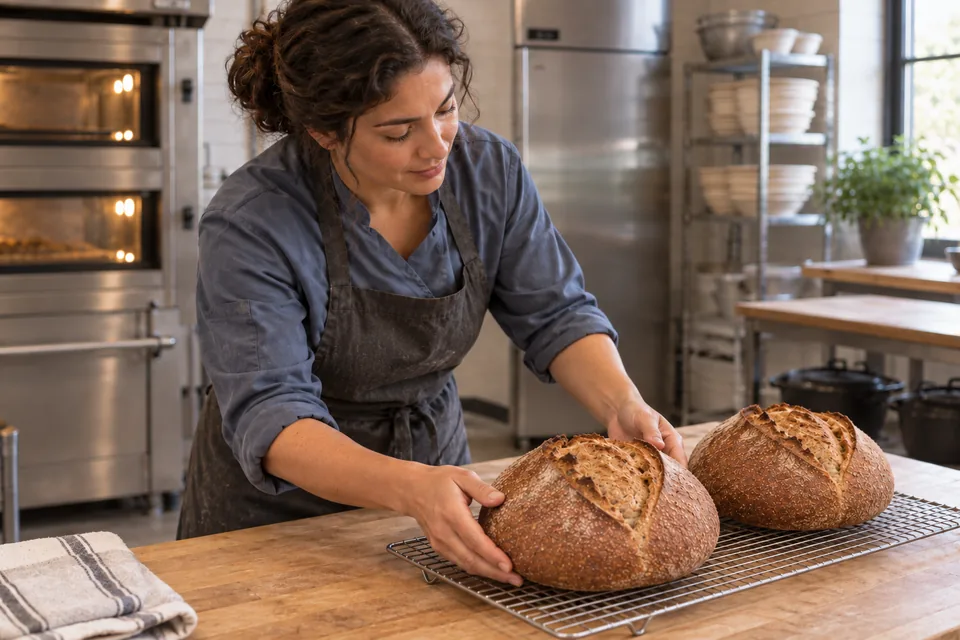
08 CoolCool both whole-wheat loaves on a rack before slicing; leave longer if the center is still hot.
What to look for
| Stage | Look and feel | Needs attention |
|---|---|---|
| After folds | Dough holds a rounded form longer after each fold. | Forcing the dough beyond resistance or folding during the final hour of bulk. |
| End of bulk | About 3 times its initial volume. | Shaping solely because the clock says so; temperature changes the pace. |
| Ready to bake | A fully aerated loaf that keeps its outline; for room proof, a dent returns slowly and incompletely. | A fast spring-back or a fragile, collapsing loaf. |
Troubleshooting
| If you see | Likely cause | What to do now | Next time |
|---|---|---|---|
| Little rise by the stated time | Cooler dough or room; weak or inaccurate yeast dose. | Check dough temperature and expansion. Allow more time in a gently warm place; continue only when the recipe’s volume cue is reached. | Weigh yeast carefully and record final dough temperature; adjust the next batch’s water temperature. |
| Loaf spreads or collapses at loading | Final proof went too far or shaping left insufficient tension. | Load gently and bake promptly; expect reduced height. | Begin checking early, particularly in warmth. Shape with moderate tension and refrigerate a second loaf while the first bakes. |
| Dark bottom but pale upper crust | Uneven oven heat or a rack too close to the bottom element. | Check oven temperature and finish by crust color while monitoring the base. | Use the middle rack and a fully heated pot; verify actual oven temperature. |
Recipe notes
- Whole wheat absorbs more water and stretches less than white flour. Fold gently; this dough will not feel as elastic as an all-white dough.
- Times are estimates for the stated yeast dose and dough. Warmer kitchens shorten fermentation; follow the expansion and texture cues.