Core recipe
Olive & oregano bread
A savoury loaf with olive oil, sliced olives, and oregano.
Method
01 · Mix
3–5 minUse: A + B
Whisk A together. Add B and mix until evenly moistened.Ready when: No dry pockets of flour.
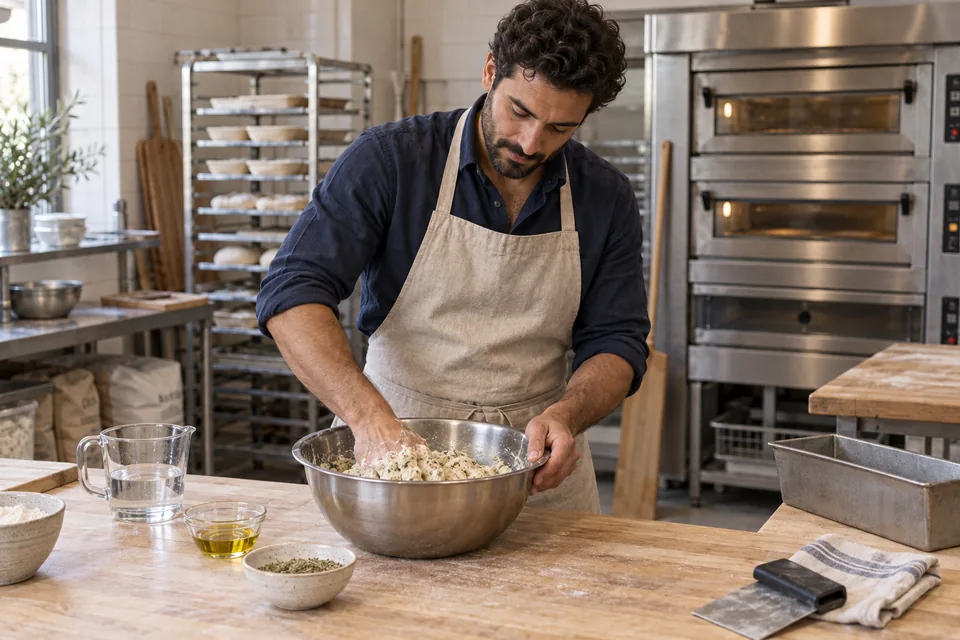
01 Mix the doughMix until all the flour is evenly moistened. 02 · Knead
8–12 min; check early in a mixerUse: Mixed dough
Knead by hand or with a dough hook on low until elastic. Rest briefly before deciding whether to adjust consistency.Ready when: Soft dough that stretches without immediately tearing.
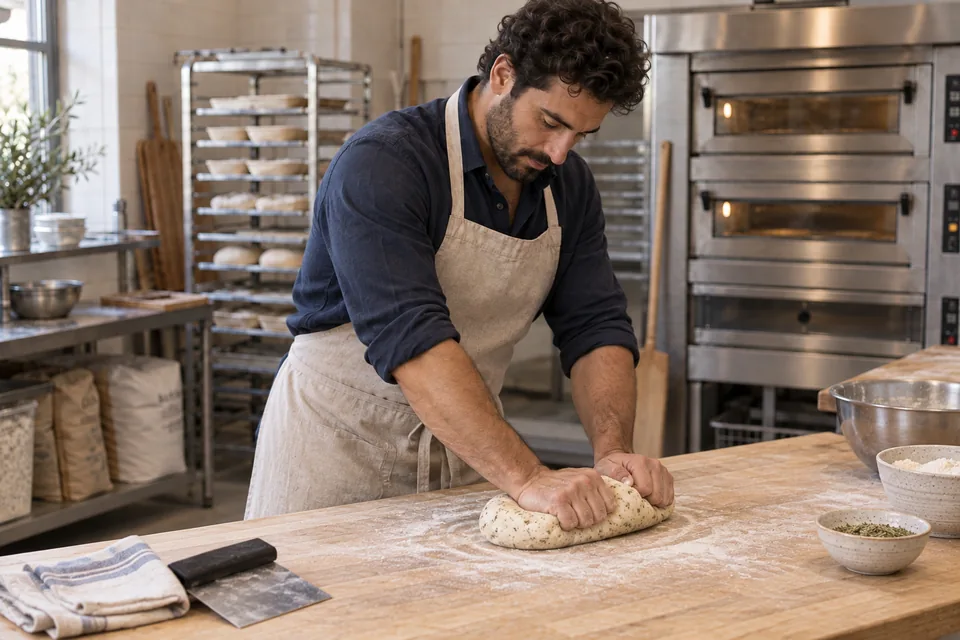
02 Knead until elasticKnead until the dough feels soft and stretches without immediately tearing. 03 · Add olives
1–2 minUse: C + kneaded dough
Flatten the dough, scatter over olives, then fold and knead gently to distribute them.Ready when: Olives are dispersed and mostly intact.
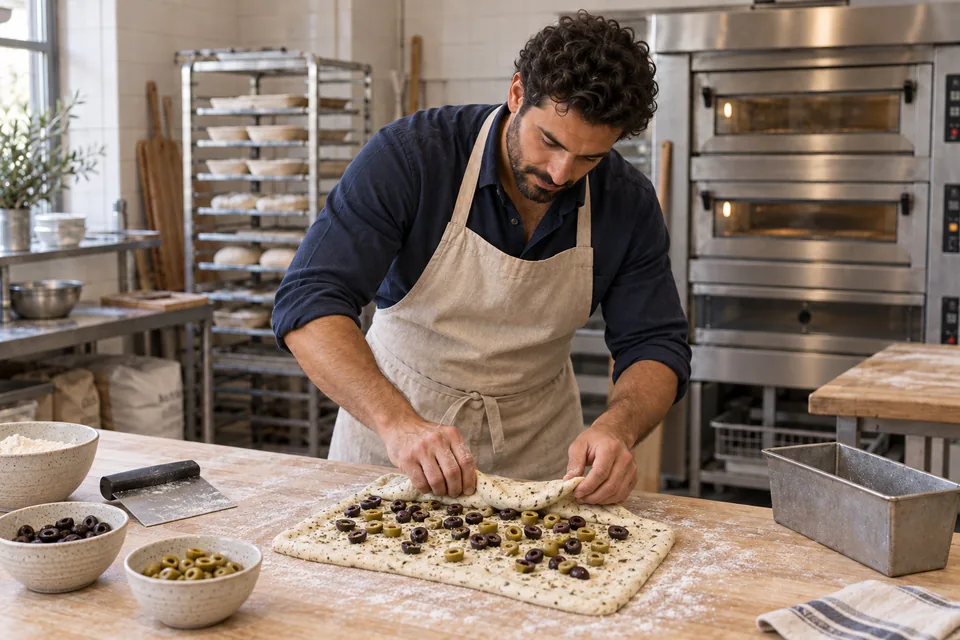
03 Fold in the olivesScatter over drained, sliced olives and fold them gently into the dough. 04 · First rise
About 60–90 min + 10 min restUse: Dough; oiled bowl
Cover and leave until doubled. Gently press out large bubbles, then rest 10 minutes.Ready when: Dough is airy and about twice its starting volume.
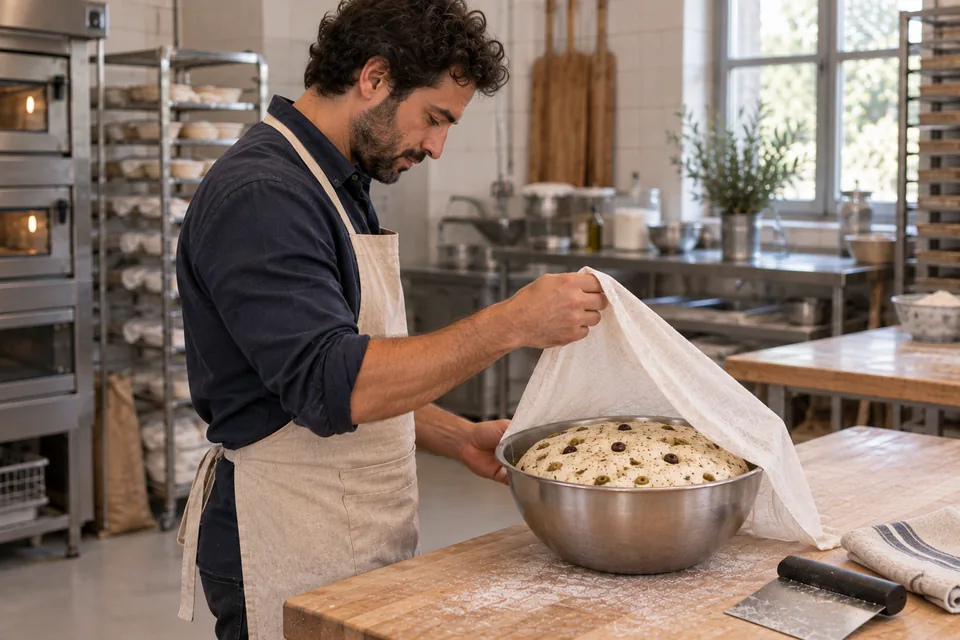
04 Let the dough riseCover the dough and wait until it is airy and about doubled. 05 · Shape & proof
About 30–60 minUse: Dough; oiled tin
Roll into a log as wide as the tin and place seam down. Cover loosely. Preheat the oven.Ready when: Loaf is puffy; a light finger dent returns slowly.
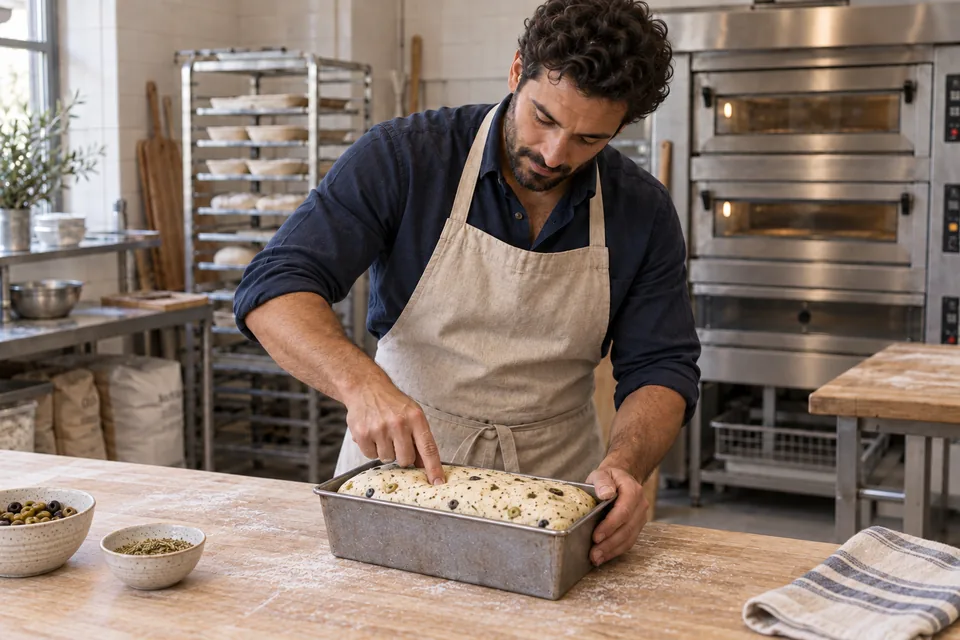
05 Shape and proof in the tinShape one log, place seam down in the oiled tin, and let it become puffy. 06 · Bake
190°C / 375°F; 35–40 minUse: Proofed loaf
Bake on the centre rack. Tent with foil if the crust darkens too soon.Ready when: Golden crust; centre about 88–93°C / 190–200°F.
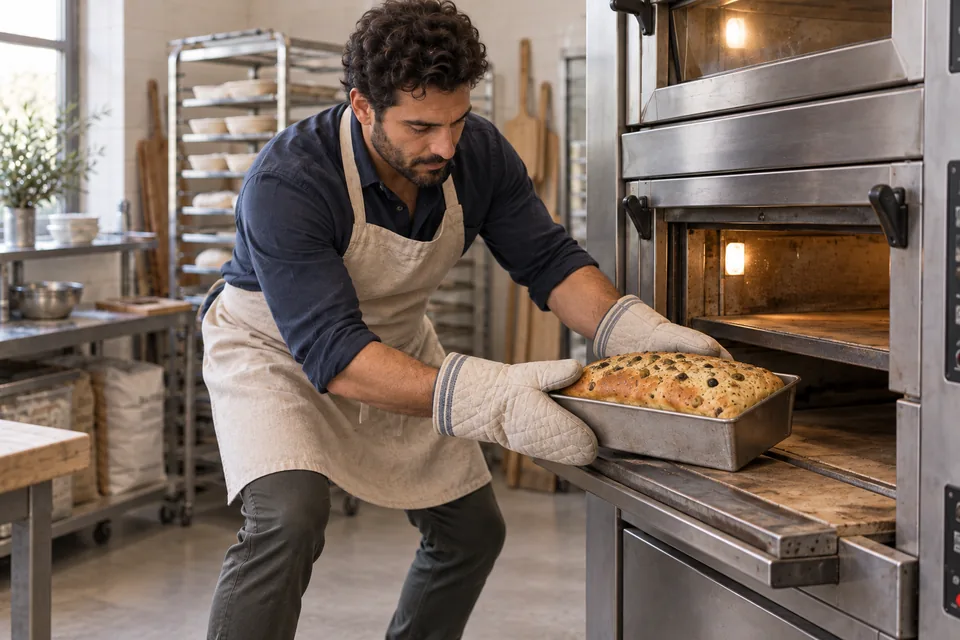
06 Bake until goldenBake until the crust is golden, then remove the hot tin with oven mitts. 07 · Cool
At least 1 hourUse: Baked loaf
Remove from the tin and cool on a rack.Ready when: Cool enough to slice without compressing the crumb.
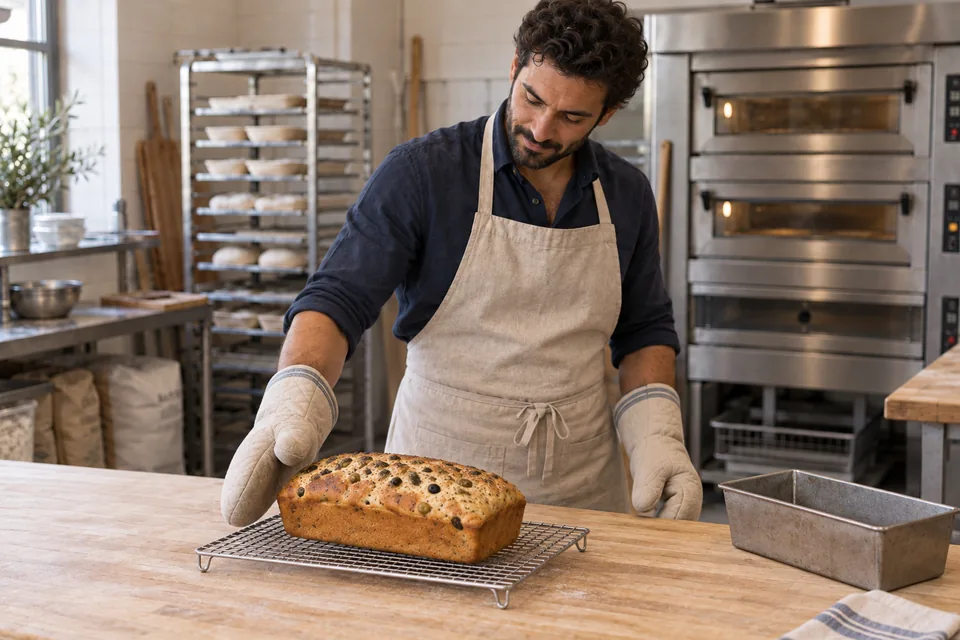
07 Cool on a rackRemove the loaf from the tin and cool it on a rack before slicing.
Consistency & readiness
| Stage | Look and feel | Needs attention |
|---|---|---|
| Before adding olives | Olives are drained and blotted; dough is already smooth and stretchy. | Visible brine pooling around the olives. |
| After adding olives | Distinct pieces spread throughout a cohesive dough. | Pulverised olives or wet, disconnected patches. |
| Final rise | The shaped loaf is visibly fuller and aerated. | Waiting for a fixed minute count after it is already fragile. |
Troubleshooting
| If you see | Likely cause | What to do now | Next time |
|---|---|---|---|
| Dough turns wet when olives go in | Residual brine adds unmeasured liquid. | Pause mixing; use only a small flour correction if needed. | Weigh olives after draining and dry thoroughly. |
| Olives disintegrate | They were mixed too vigorously or too early. | Stop once distributed; smaller pieces remain usable. | Fold olives into developed dough at the end. |
| Dense loaf with a hard crust | Dough may have become too dry. | Record any added flour for the next batch. | Keep dough slightly tacky; avoid heavy flouring during shaping. |
Recipe notes
- Wet olives can make dough sticky. Drain them well rather than automatically adding flour. If needed after resting, adjust with water or flour in 5 g additions.