Starter & maintenance
Liquid sourdough starter
Transitions an established base starter toward an all-white, 100%-hydration culture.
Method
01 · Day 1 · morning
About 9 h; e.g. 9 a.m. to 6 p.m.Use: A
Keep 50 g starter, mix with the new flour and water; cover at room temperature.Ready when: Increasing bubbles and volume.
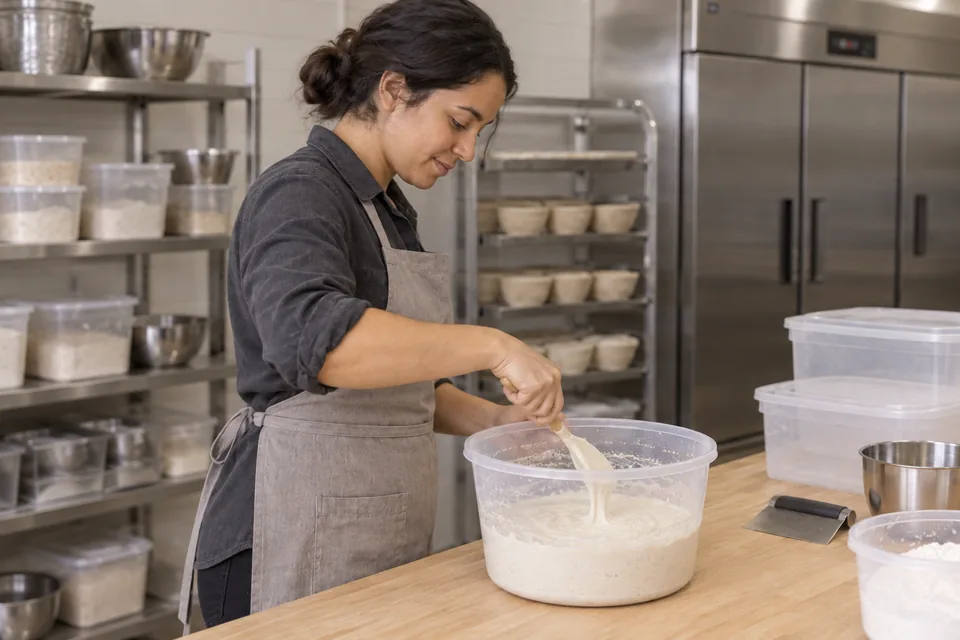
01 Begin the liquid feedMix the retained starter with equal weights of new flour and water. 02 · Day 1 · evening
About 15 h overnightUse: A2
Keep 250 g from the first feed, discarding the rest. Mix with flour and water; cover.Ready when: Expanded culture with a webbed interior.
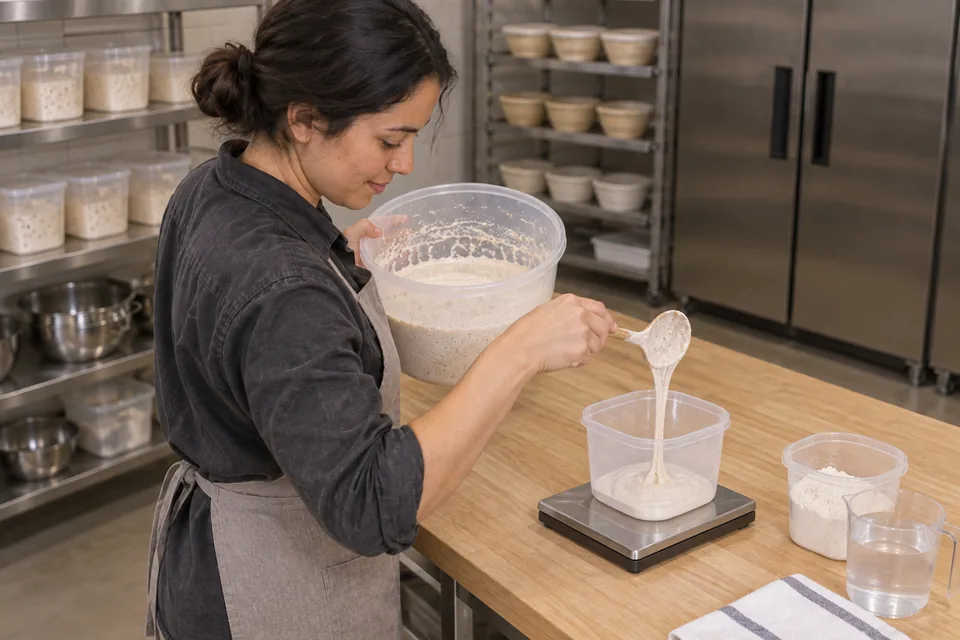
02 Feed again after expansionRetain the required amount, mix in fresh flour and water, and cover. 03 · Day 2 · morning
About 6 h; e.g. 9 a.m. to 3 p.m.Use: A3
Keep only 100 g from the second feed. Mix in flour and water; cover until aerated and ready for the final dough.Ready when: Bubbly and webbed, with a mild fermented aroma; not collapsed.
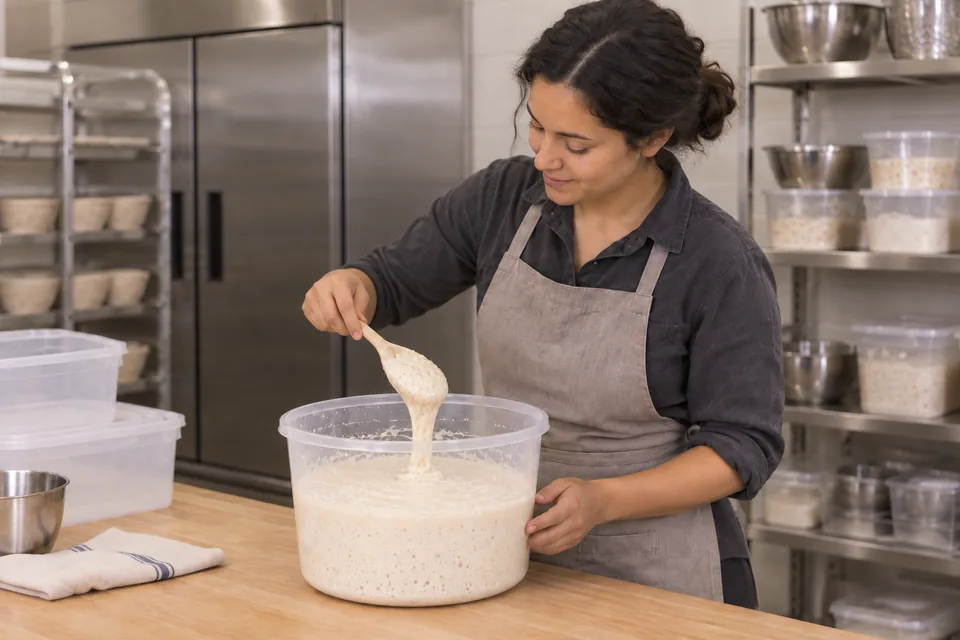
03 Watch for bubbles and a webbed interiorAllow the fed liquid culture to become aerated before using it. 04 · Use or maintain
Use at maturityUse: Ripe culture
Weigh the portion your dough needs. Keep the remainder separate. For ongoing liquid culture, repeat the third-feed proportions; for refrigeration, use the storage protocol.Ready when: Only the weighed portion enters the dough.
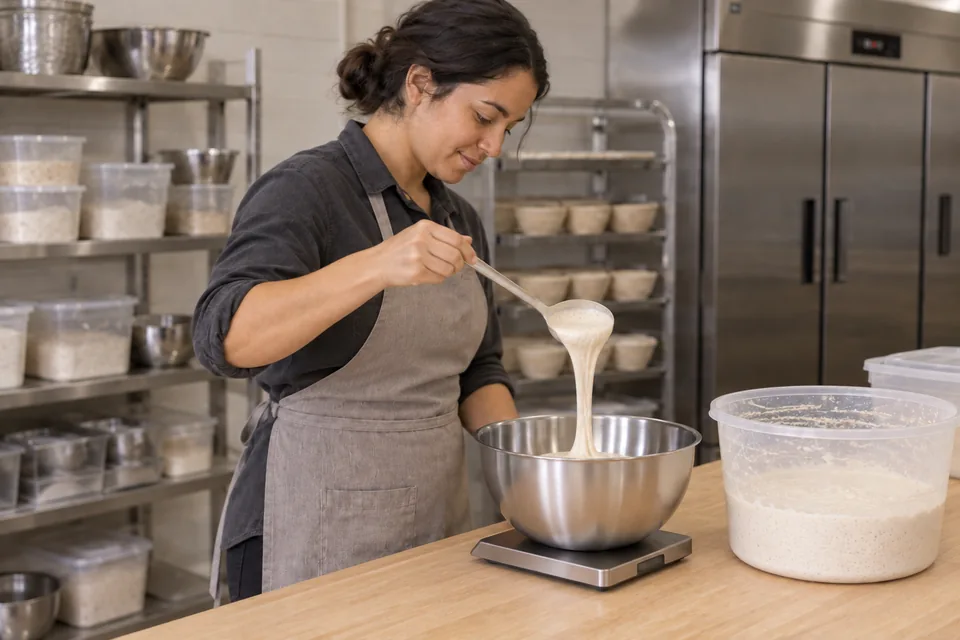
04 Weigh the portion for the doughUse only the needed portion and keep the remainder separate.
What to look for
| Stage | Look and feel | Needs attention |
|---|---|---|
| Maturity | Bubbles, expansion and an internal web after feeding. | A collapsed, thin culture indicates its peak has passed. |
Troubleshooting
| If you see | Likely cause | What to do now | Next time |
|---|---|---|---|
| Culture is sluggish | The seed was weak or the room is cool. | Allow more time in a gently warmer spot before using. | Start with a reliably active culture and record the temperature. |