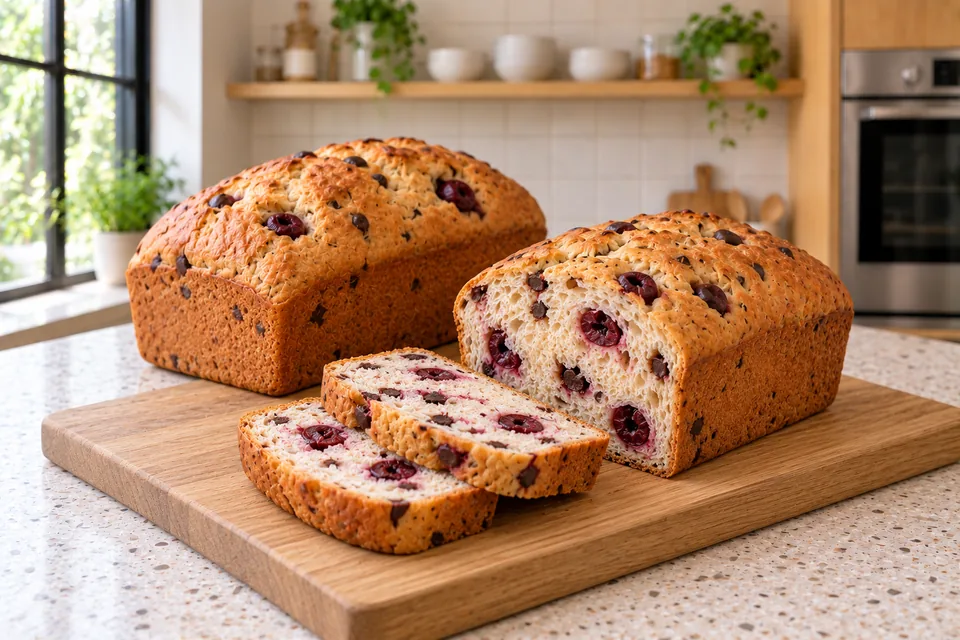
Chocolate and cherry bread
Two small yeast loaves with dark chocolate chips and tart cherries. Well-drained fruit and loaf tins help keep the soft dough manageable.
Method
01 · Measure and prepare the separate additions
5–10 minUse: Pitted sour cherries in juice; Dark chocolate chips
Drain the cherries in a sieve, halve them and check for stone fragments. Pat dry on kitchen paper, then weigh 160 g. Keep the chocolate chips cool and dry.Ready when: The additions are measured and ready, with no stems, stones or unwanted surface liquid.
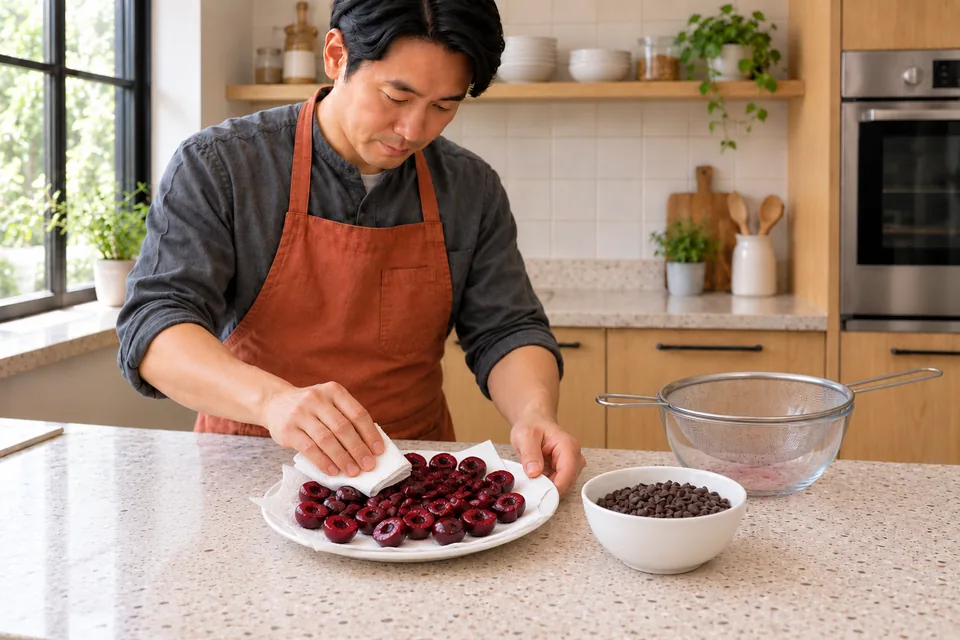
01 Prepare the cherries and chocolateDrain, halve and dry the cherries, then measure the additions. 02 · Mix and develop the dough
11–14 minUse: Strong white bread flour; Water; Fine salt; Instant dried yeast; Olive oil
Mix the dough flour, water, salt, yeast and olive oil. Knead by hand or with a dough hook at the machine’s recommended speed for 8–10 minutes after the flour is moistened.Ready when: The dough is cohesive, soft and elastic; it stretches before tearing.

02 Develop the white doughKnead the white dough until soft and elastic. 03 · Let the dough rise
60–120 minUse:
Cover the bowl and leave at 22–24°C for 60–120 minutes.Ready when: The dough is visibly aerated and approximately doubled in volume.
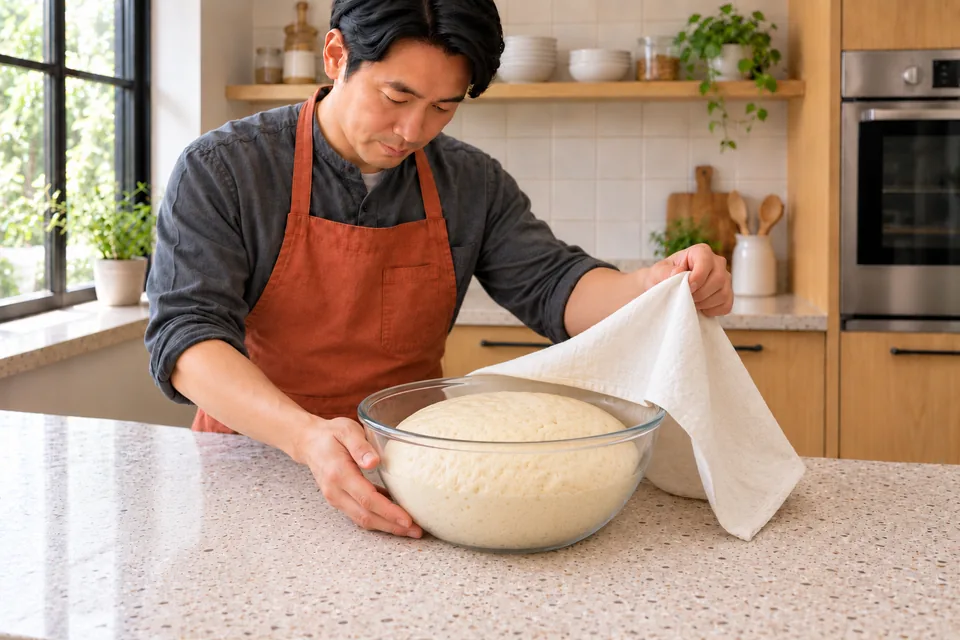
03 Let the plain dough riseLet the plain dough become aerated and roughly doubled. 04 · Fold in the reserved additions
3–5 minUse: Pitted sour cherries in juice; Dark chocolate chips
Gently spread the dough into a thick rectangle. Scatter the dry cherry halves and chocolate chips over it, then fold the dough repeatedly until the additions are distributed. Use a scraper if it becomes sticky; avoid crushing the fruit.Ready when: The additions are distributed without large clumps.
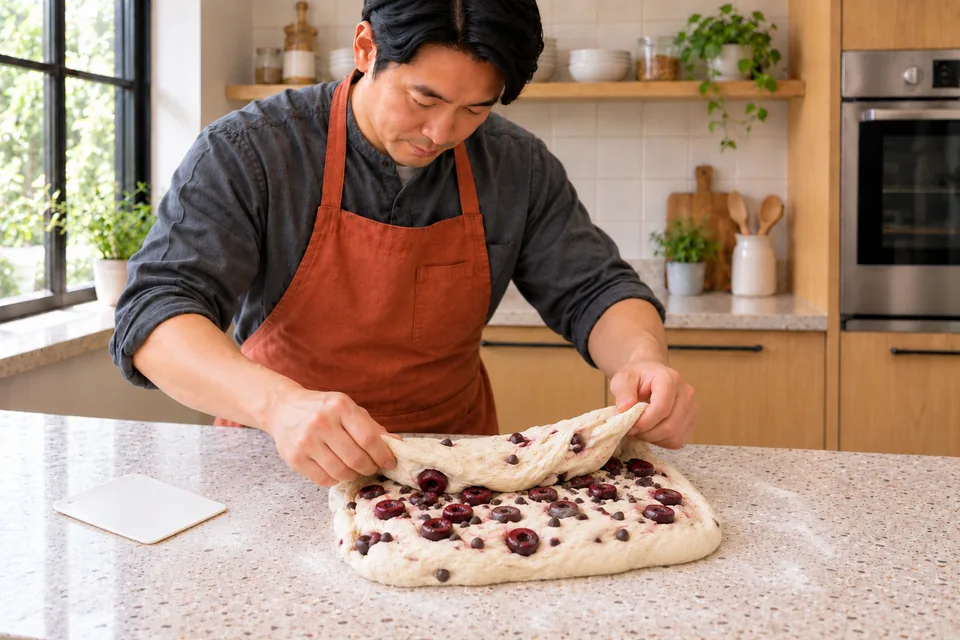
04 Fold in the cherries and chipsFold the measured cherries and chips through gently. 05 · Divide and shape two tin loaves
7–12 minUse: Flour for shaping; Olive oil for the tins
Oil two 20×10×7 cm loaf tins with the separate tin oil. Use the shaping flour sparingly. Divide the dough equally, about 613 g per piece. Form each into a short log and place seam-side down in a tin.Ready when: The dough holds its shape and the additions are mostly enclosed.
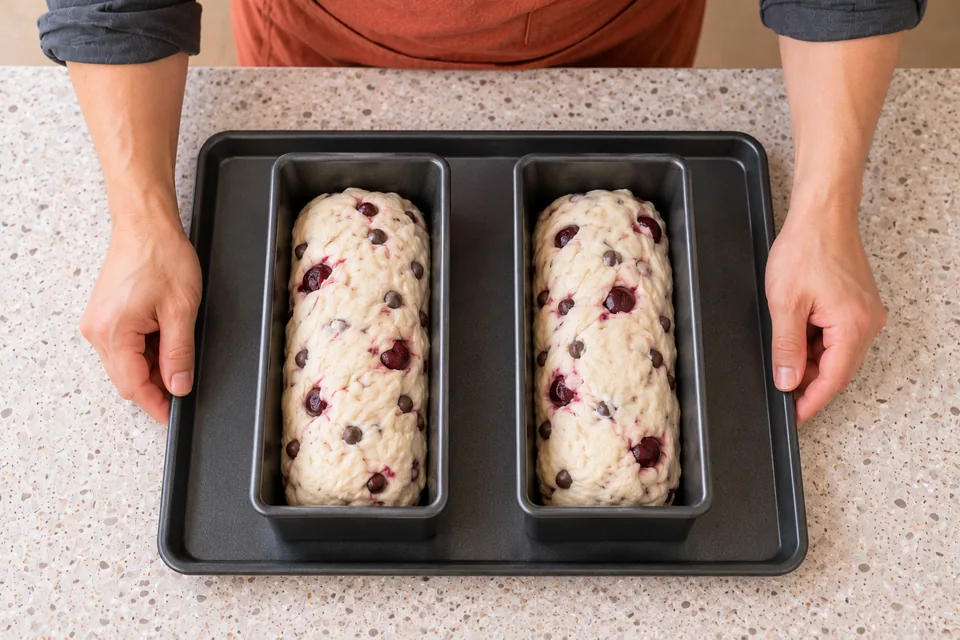
05 Shape two equal small loavesDivide equally and shape two small loaves. 06 · Proof and heat the oven
45–75 minUse:
Cover loosely and leave at 22–24°C for 45–75 minutes. Heat the oven to 200°C conventional during the final 20 minutes.Ready when: The dough is puffy and a light fingertip dent recovers slowly.
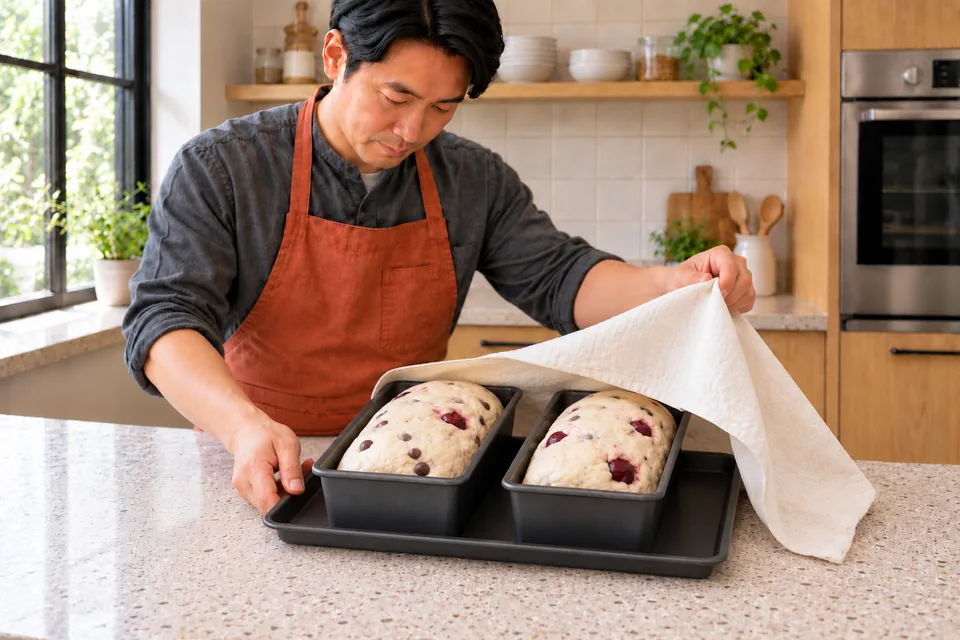
06 Proof both loavesLet both loaves become puffy before baking. 07 · Bake until the bread centre is set
30–40 minUse:
Bake both tins together for 30–40 minutes. Cover loosely with foil if the top colours before the centre is cooked. Probe the bread in a thick section, avoiding cherries and melted chocolate.Ready when: The base is firm and browned, and the bread centre reaches about 95°C.

07 Bake the two tins togetherBake both tins together until the bread is set. 08 · Cool fully before slicing
90 minUse:
Leave in the tins for 10 minutes, then turn out onto a rack for at least 80 minutes more. Slice only when the centre is cool.Ready when: The crumb is set and the chocolate has firmed.
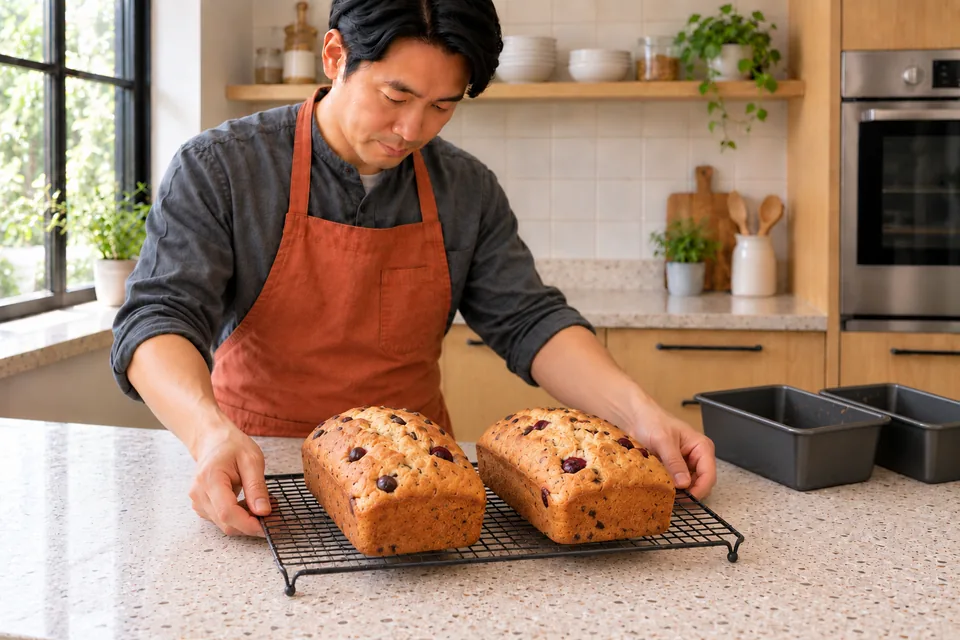
08 Cool both loaves fullyCool fully so the crumb and chocolate set.
What to look for
| Stage | Look / feel for | Needs attention |
|---|---|---|
| Measure and prepare the separate additions | The additions are measured and ready, with no stems, stones or unwanted surface liquid. | |
| Mix and develop the dough | The dough is cohesive, soft and elastic; it stretches before tearing. | |
| Let the dough rise | The dough is visibly aerated and approximately doubled in volume. | |
| Fold in the reserved additions | The additions are distributed without large clumps. | |
| Divide and shape two tin loaves | The dough holds its shape and the additions are mostly enclosed. | |
| Proof and heat the oven | The dough is puffy and a light fingertip dent recovers slowly. | |
| Bake until the bread centre is set | The base is firm and browned, and the bread centre reaches about 95°C. | |
| Cool fully before slicing | The crumb is set and the chocolate has firmed. |
Troubleshooting
| If you see this | Likely cause | What to do now | Next time |
|---|---|---|---|
| The additions break down during mixing. | The dough was kneaded strongly after adding the fruit or flakes. | Stop mixing once evenly distributed and use a scraper for handling. | Develop the dough first and fold the additions in gently. |
| The crust colours before the centre is cooked. | Exposed fruit, chocolate or nuts brown quickly. | Cover loosely with foil and continue to the bread-centre and firm-base cues. | Check from the lower stated bake time and keep most additions inside the dough. |
Storage: Once cool, refrigerate in a closed container within 2 hours of baking and use within 2 days. Freeze slices for up to 2 months.; Contains: wheat, milk and soya if present in the chocolate, sulphites if present in the fruit.; This Nepedia version has not been kitchen-tested.
Other approaches to this recipe
| Cook / recipe | Use | What differs |
|---|
The working ingredients and method form one recipe. Different formulas are compared without averaging their quantities or rise schedules.