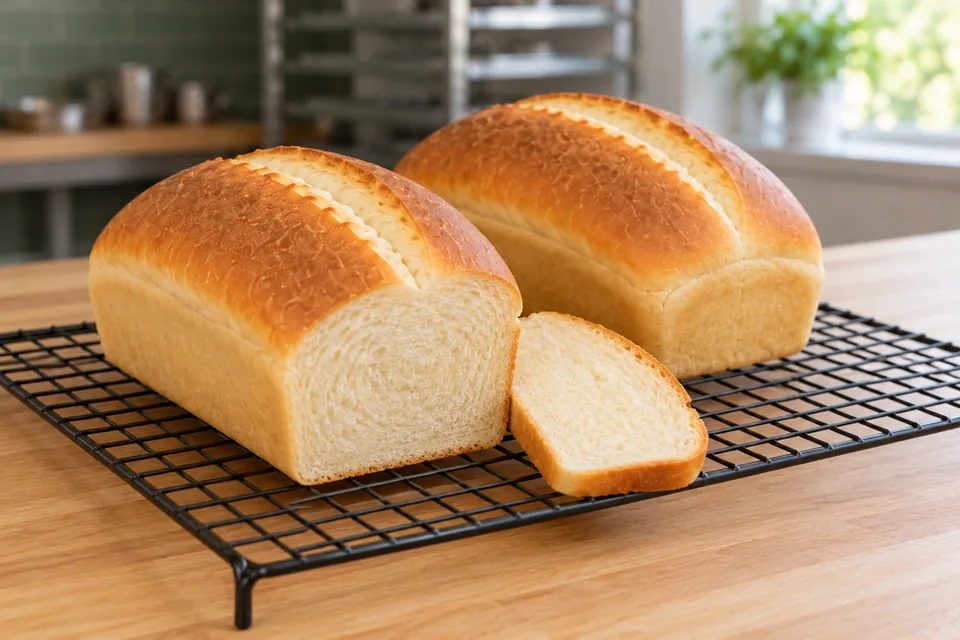
Soft milk loaf
Two small sandwich loaves made with a simple milk-and-butter dough. Their close, tender crumb is suited to toast and sandwiches.
Method
01 · Mix and knead
12–18 minUse: Strong white bread flour; Whole milk; Caster sugar; Fine salt; Instant dried yeast; Unsalted butter
Combine the flour, sugar, salt and instant yeast in a mixing bowl. Pour in the milk and mix until the dry flour is incorporated. Knead by hand or with a dough hook for about 5 minutes, then work in the butter in small pieces. Continue kneading for 5–8 minutes, until the butter has disappeared into the dough.Ready when: The dough is soft and elastic, with a smooth surface; a small piece stretches before tearing.
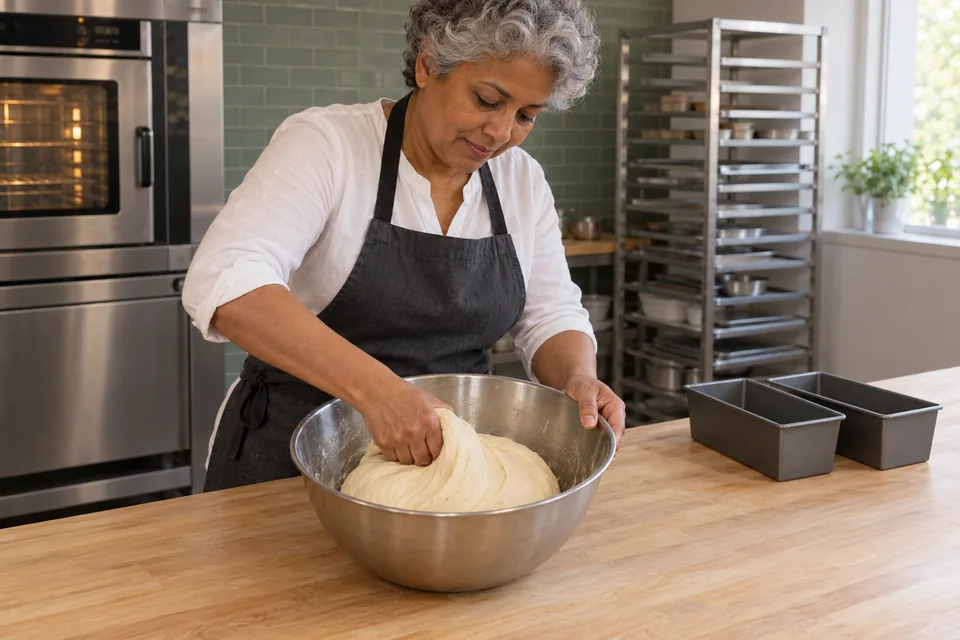
01 Soft milk loaf — step 1Knead until the butter is absorbed and the dough is smooth. 02 · Let the dough rise
60–90 minUse: Unsalted butter for the tins
Use a little of the greasing butter to coat a large bowl and keep the remainder for the tins. Put in the dough, cover and leave at about 22–25°C for 60–90 minutes.Ready when: The dough has expanded to roughly twice its starting volume and feels aerated.
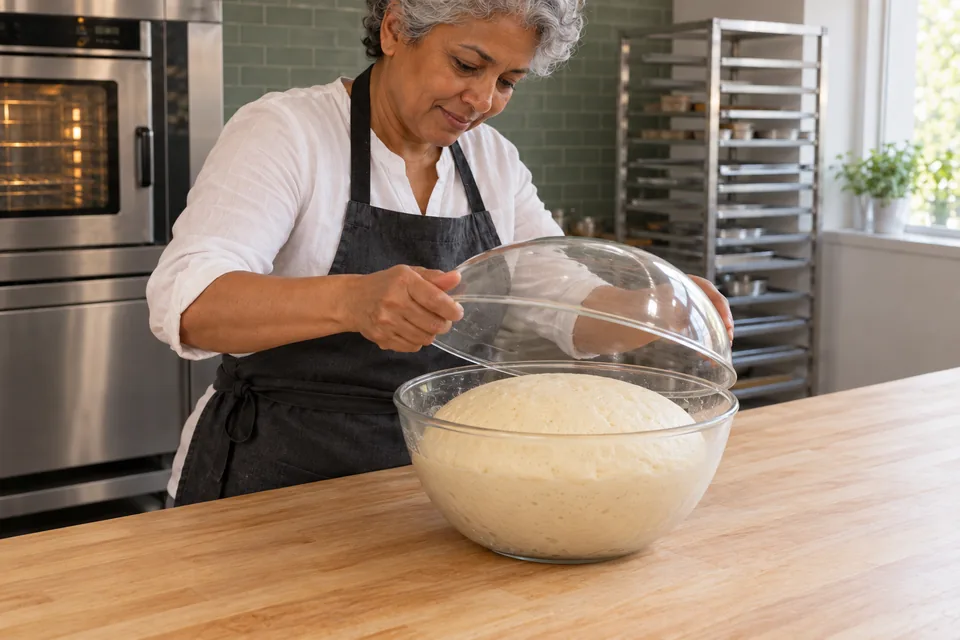
02 Soft milk loaf — step 2Cover and let the dough expand to roughly twice its volume. 03 · Shape two loaves
8–12 minUse: Flour for shaping; Unsalted butter for the tins
Grease two small loaf tins, each about 20 × 10 × 7cm, with the remaining greasing butter. Lightly flour the worktop with the shaping allowance. Press the large bubbles from the dough and divide it into two equal pieces, about 475g each. Flatten each piece into a short rectangle, fold its sides inward and roll it into a tight log about 18cm long. Seal the seam and place it underneath in the tin.Ready when: The two logs are even, with closed seams and smooth tops.
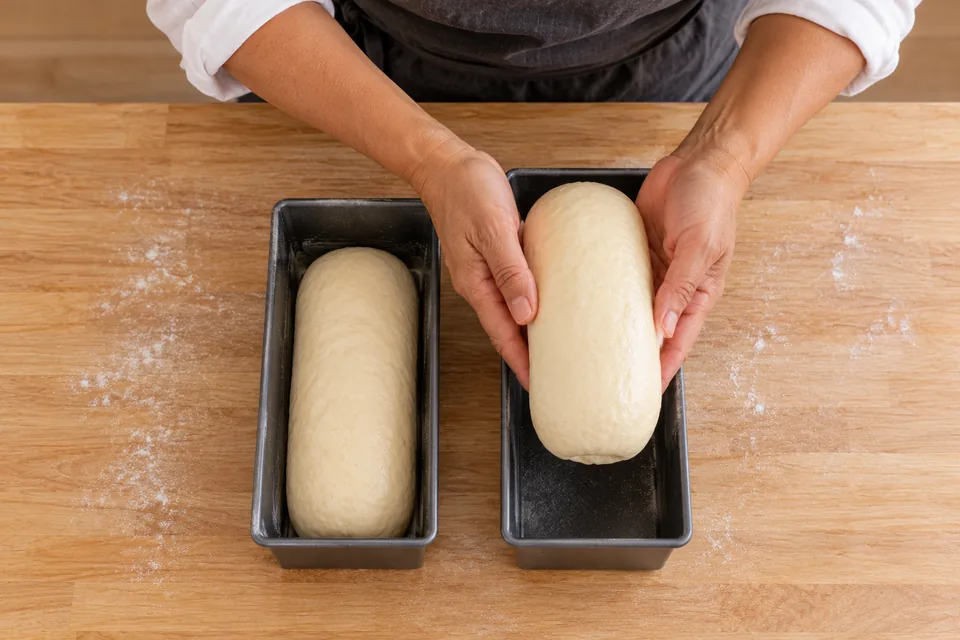
03 Soft milk loaf — step 3Shape two equal logs and place them seam-side down in the tins. 04 · Proof and heat the oven
45–75 minUse:
Cover the tins loosely and leave at about 22–25°C for 45–75 minutes. Heat the oven to 200°C conventional during the last 20 minutes, with a shelf in the middle.Ready when: The loaves are rounded and clearly expanded. A shallow fingertip dent springs back slowly. Do not wait for a slack or collapsing surface.
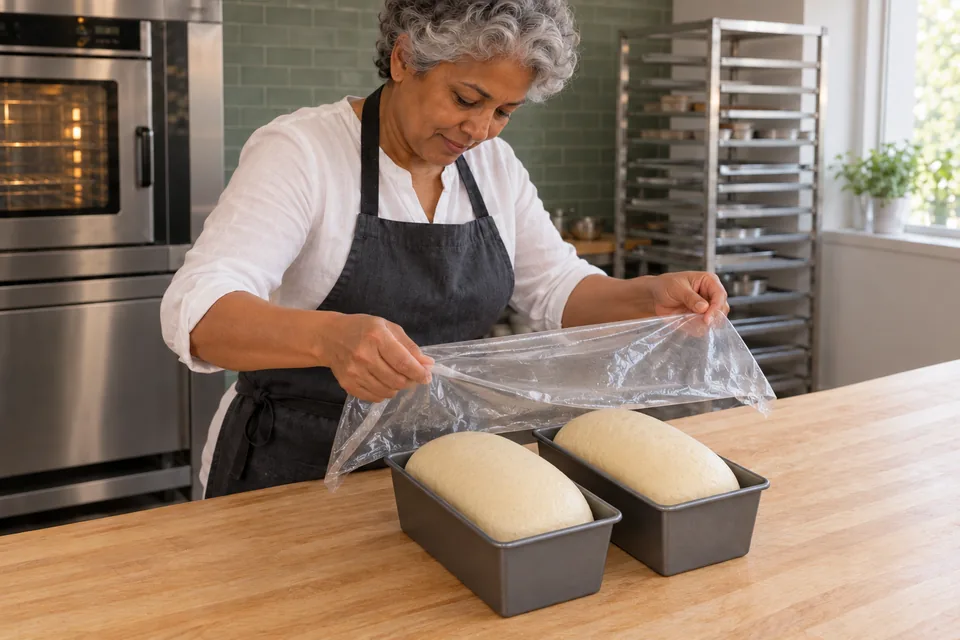
04 Soft milk loaf — step 4Let the two loaves rise until puffy and rounded. 05 · Bake the loaves
25–35 minUse:
Remove the covers. Make one shallow lengthwise slash in each loaf with a sharp blade. Bake the tins side by side for 25–35 minutes. If the tops become dark before the centres are ready, cover them loosely with foil.Ready when: The tops are golden brown, the sides are set, and the centre of each loaf reaches about 90°C on a probe thermometer.
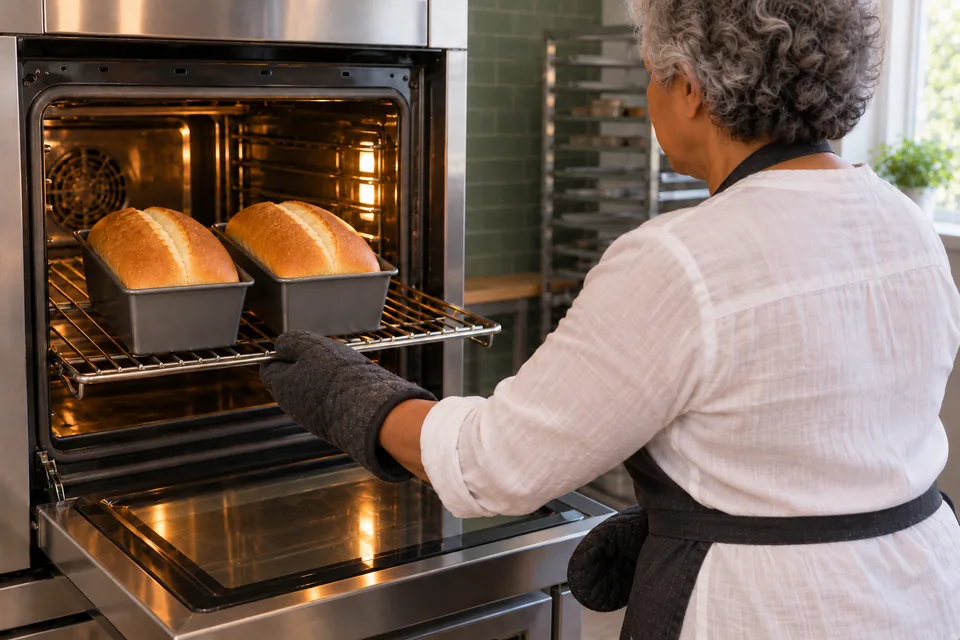
05 Soft milk loaf — step 5Slash each loaf lengthwise and bake until golden brown. 06 · Cool before slicing
65 minUse:
Leave the loaves in their tins for 5 minutes, then turn them onto a rack. Cool for at least 1 hour before slicing or wrapping.Ready when: The loaves hold their shape and the crumb cuts cleanly without compressing into a wet band.
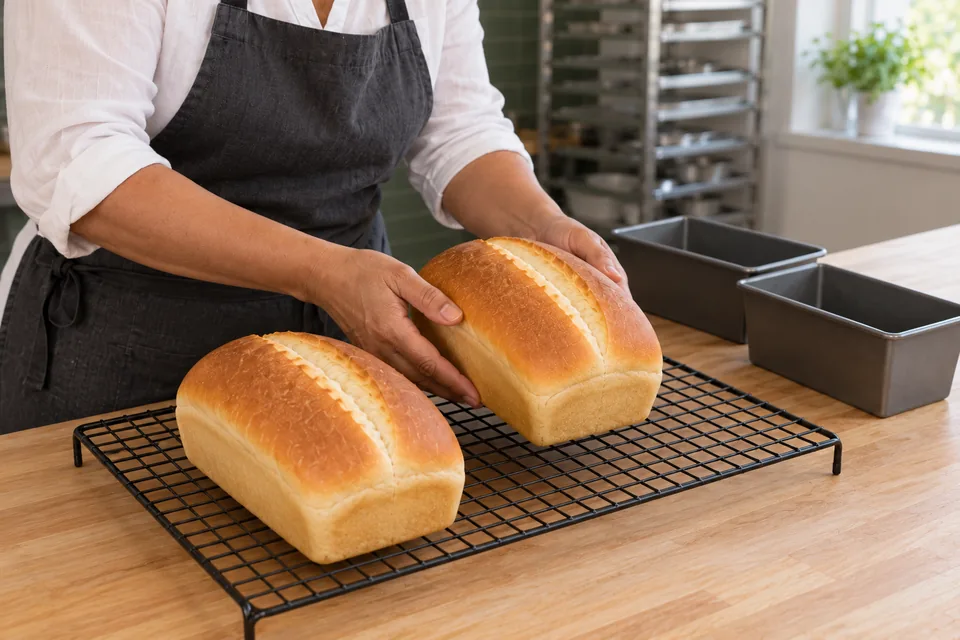
06 Soft milk loaf — step 6Turn the loaves onto a rack and let them cool.
What to look for
| Stage | Look / feel for | Needs attention |
|---|---|---|
| Mix and knead | The dough is soft and elastic, with a smooth surface; a small piece stretches before tearing. | |
| Let the dough rise | The dough has expanded to roughly twice its starting volume and feels aerated. | |
| Shape two loaves | The two logs are even, with closed seams and smooth tops. | |
| Proof and heat the oven | The loaves are rounded and clearly expanded. A shallow fingertip dent springs back slowly. Do not wait for a slack or collapsing surface. | |
| Bake the loaves | The tops are golden brown, the sides are set, and the centre of each loaf reaches about 90°C on a probe thermometer. | |
| Cool before slicing | The loaves hold their shape and the crumb cuts cleanly without compressing into a wet band. |
Troubleshooting
| If you see this | Likely cause | What to do now | Next time |
|---|---|---|---|
| The dough feels too firm to knead comfortably. | The flour is unusually absorbent or the milk was undermeasured. | Work in 5g extra milk at a time until the dough becomes supple; record the adjustment. | Weigh flour and milk and avoid kneading in the shaping allowance. |
| A loaf splits at the side. | It may have needed more final proof, or the seam was not sealed. | Continue baking until the centre is set; the split loaf is still suitable for slicing. | Close the seam firmly and wait for a slow-returning fingertip dent before baking. |
| The top is brown but the middle is underbaked. | Milk and sugar colour the surface before the centre has heated enough. | Cover loosely with foil and continue baking until the centre reaches about 90°C. | Use the stated small tins and check the middle of each loaf. |
Storage: Cool fully, then keep wrapped at room temperature for up to 3 days. Freeze the loaves or slices in sealed bags for up to 2 months. Thaw while wrapped or toast slices from frozen.; Contains: wheat, milk.; This Nepedia version has not been kitchen-tested.
Other approaches to this recipe
| Cook / recipe | Use | What differs |
|---|
The working ingredients and method form one recipe. Different formulas are compared without averaging their quantities or rise schedules.